Dairy Free Pumpkin Chocolate Chip Cookies
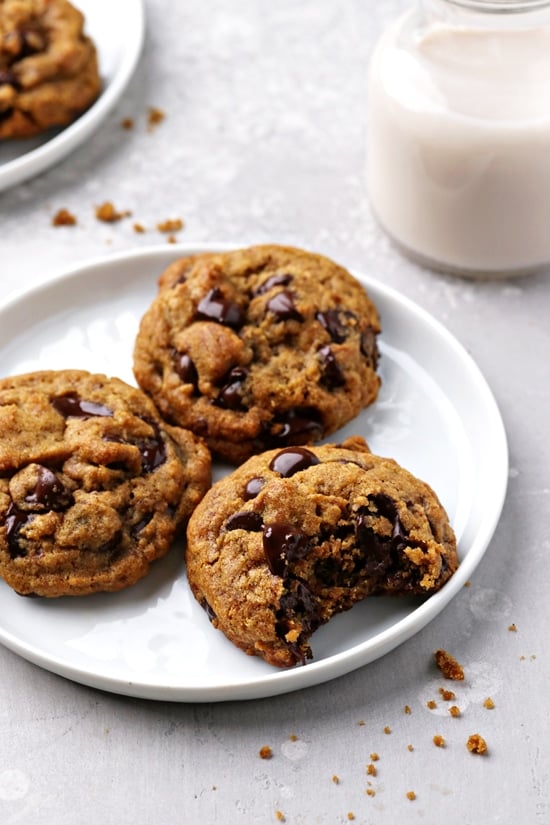
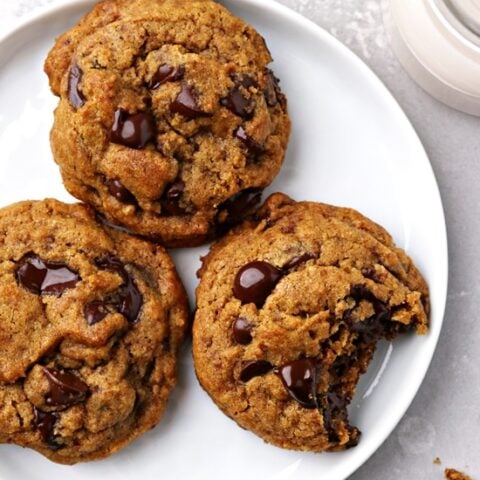
Soft, thick and delightfully chewy, these dairy free pumpkin chocolate chip cookies are a must-make for Fall! With oodles of warm spices, pumpkin puree and melt-y chocolate chips in every bite, they’re the perfect way to welcome the season. Soy free.
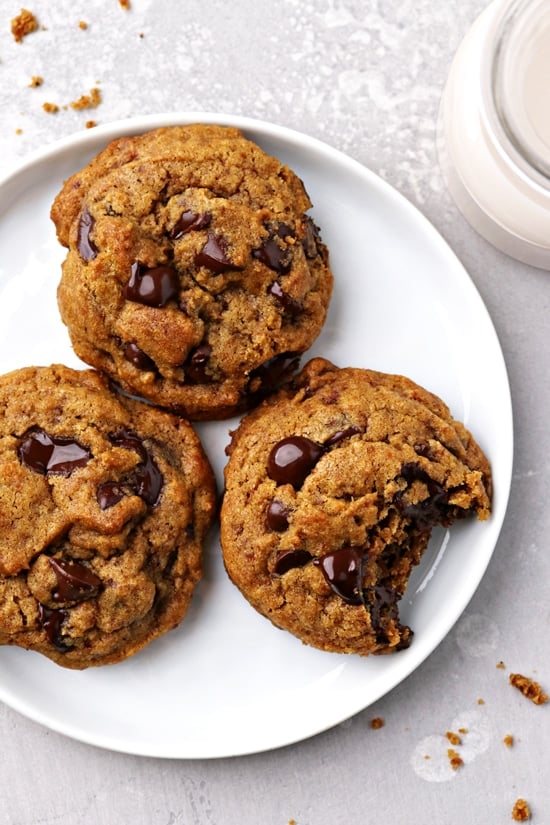
In the mood for a little fall baking?
Well then look no further than these dreamy dairy free pumpkin chocolate chip cookies!
Soft, thick and delightfully chewy, they feature all the goodness of a classic chocolate chip cookie + awesome pumpkin spice flavor.
Now, let’s be clear. These are not quite as completely chewy as a traditional chocolate chip cookie because there is some pumpkin puree involved.
BUT. They do have a good bit of chew and are absolutely not cakey or spongy like so many pumpkin cookies.
And between all that warm spice-y goodness and those puddles of melt-y chocolate chips?
It’s some serious fall baking love.
PS – Looking for a chewy pumpkin cookie without the chocolate chips? Try my soft & chewy pumpkin cookies – they’re also dairy free and are kind of like a cross between a pumpkin cookie and a snickerdoodle.
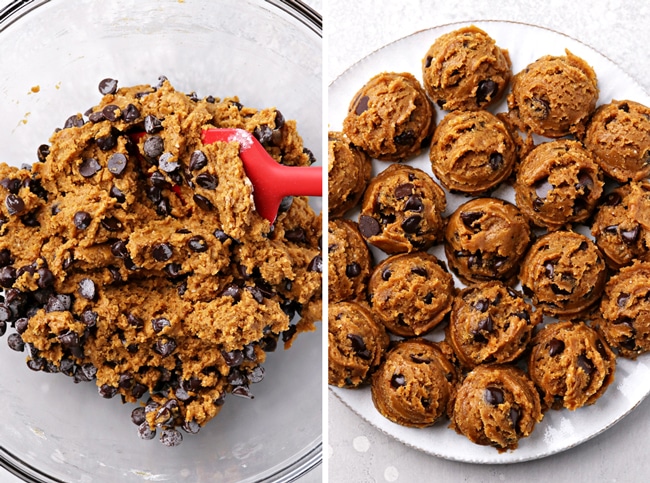
How To Make Dairy Free Pumpkin Cookies
So, let’s talk about how these dreamy cookies go down:
Mix the dry ingredients. First up, we’ll whisk together some flour, baking soda and warm fall spices.
Beat the wet ingredients. Next, we’ll beat together some softened coconut oil and sugar, then add in pumpkin puree, an egg yolk and vanilla.
Combine then chill. We’ll mix the two together, stir in plenty of chocolate chips, then scoop the dough into balls and chill in the fridge until firm.
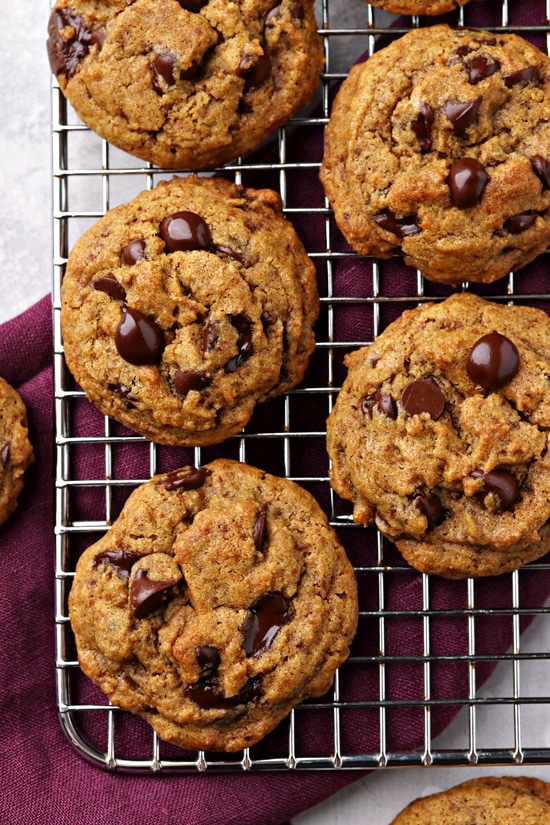
Bake until just set. Finally, we’ll pop the chilled cookie dough balls in the oven and bake until lightly browned and just set around the edges.
Tips & Tricks
- First things first. When measuring out your flour, fluff it in the container then scoop into your measuring cup with a spoon and level off. Don’t dunk the cup straight into the bag as you’ll likely use too much.
- Now, I like to use unrefined virgin coconut oil in these cookies. I personally don’t think you can taste any coconut in the final product (thanks to all the warm spices), but if this concerns you use refined coconut oil instead.
- Along those lines, you want your coconut oil to be softened but NOT melted. When it’s chilly in the house, I pop mine in the microwave (after scooping out the correct amount) for about 5 to 10 seconds to get it to that softened state. But sometimes during warmer weather, I don’t need to soften it at all.
- I have not tested these with dairy free butter but I think it should work in place of the coconut oil if you want to go that route.
- Let’s talk about the pumpkin puree. I’ve only tested these with store-bought canned pumpkin puree. I’m not sure how they would turn out if you used homemade.
- Additionally, the puree I buy at my local store is not super watery. If yours is, you may want to gently blot it with paper towels to get rid of some of the extra moisture.
- Please do NOT use a whole egg for these cookies – it’s important to stick with just the egg yolk to help keep the texture nice and chewy.
- And finally, while I am usually allll about warm cookies straight from the oven, I think the flavor and texture of these cookies actually get better once completely cool. But either way, you really can’t go wrong – they are cookies after all!
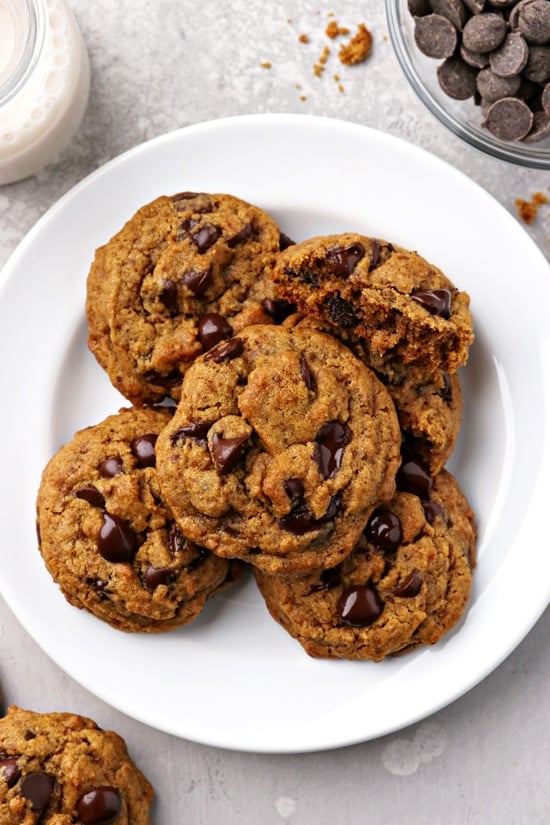
How To Store
Counter: Let the cookies cool completely then transfer to an airtight container. They’ll keep at room temperature for about 5 days.
Freezer: You can also store the cookies in the freezer for up to 3 months.
Alternatively, you can freeze the cookie dough to bake off at a later time.
To do this, scoop the dough balls and chill as directed in the recipe. Once firm, add the balls to a freezer safe bag or container, then keep in the freezer until ready to enjoy.
Bake straight from the freezer, adding 1 to 2 minutes to the cook time (but keep an eye on them as you may not need to add any time at all).
Additional Dairy Free Cookies You Might Enjoy:
- Dairy Free Snickerdoodles
- Dairy Free Oatmeal Chocolate Chip Cookies
- Chewy Coconut Oil Sugar Cookies
- Coconut Oil Chocolate Chip Cookies
- Cardamom Spice Cookies
- Dairy Free Chocolate Crinkle Cookies
- Dairy Free Oatmeal Raisin Cookies
Did you make this recipe? Rate and review it down below! I’d love to hear from you.
Dairy Free Pumpkin Chocolate Chip Cookies
Soft, thick and delightfully chewy, these dairy free pumpkin chocolate chip cookies are a must-make for Fall! With oodles of warm spices, pumpkin puree and melt-y chocolate chips in every bite, they’re the perfect way to welcome the season.
Ingredients
- 1 ½ cups all-purpose flour
- 1 ½ teaspoons baking soda
- ¼ teaspoon fine sea salt
- 1 ½ teaspoons ground cinnamon
- ¼ teaspoon ground ginger
- ¼ teaspoon ground nutmeg
- ⅛ teaspoon ground cloves
- ⅛ teaspoon ground allspice
- ½ cup solid state coconut oil, softened (but not melted)
- ½ cup plus 2 tablespoons coconut sugar (or lightly packed brown sugar)
- ¼ cup plus 1 tablespoon pumpkin puree (not pumpkin pie filling)
- 1 large egg yolk
- 1 ½ teaspoons vanilla extract
- 1 cup dairy free chocolate chips*
Instructions
- In a medium bowl, whisk together the flour, baking soda, salt, cinnamon, ginger, nutmeg, cloves and allspice.
- In a large bowl, beat together the coconut oil and coconut sugar with a hand mixer for 1 ½ to 2 minutes, until creamed and sort of fluffy (it won’t be anywhere near as fluffy as with regular butter).
- Add in the pumpkin puree, egg yolk and vanilla and beat again until well combined. Use a spatula to stir in the flour mixture, then gently fold in the chocolate chips.
- Line a large plate with parchment paper, then scoop about 1 ½ to 2 tablespoons of dough and drop onto the prepared plate (they can be touching / close together).
- Transfer to the refrigerator and chill the dough balls for about 1 to 1 ½ hours, until firm.**
- Toward the end of the chill time, preheat the oven to 350ºF. Line a large baking sheet with parchment paper.
- Arrange the chilled dough balls on the prepared baking sheet about 2 to 3 inches apart. If baking in batches, keep the remaining dough balls in the fridge.
- Bake for about 10 to 12 minutes, until lightly browned and the edges are set. If desired, gently press a few extra chocolate chips into the tops of the warm cookies - this is only for looks.
- Let the cookies cool directly on the baking sheet.
Notes
Please see the tips & tricks section in the post above for helpful info on the recipe!
*To keep these soy free - make sure that your chocolate chips are also soy free.
**Since the dough can get a little hard after hanging out in the fridge thanks to the coconut oil, I recommend scooping the dough first and then chilling. Makes the process a bit easier.
Nutrition Information:
Yield: 22 Serving Size: 1Amount Per Serving: Calories: 125Total Fat: 8gSaturated Fat: 6gTrans Fat: 0gUnsaturated Fat: 2gCholesterol: 17mgSodium: 115mgCarbohydrates: 13gFiber: 1gSugar: 6gProtein: 2g
Nutrition data shown is an estimate provided by an online calculator and is for informational purposes only. It should not be considered a substitute for a medical professional’s advice.

They look so good and actually remind me of my favourite muffin tops 🙂 Awesome recipe, Ashley.
Thanks Angie!