Dairy Free No Bake Cheesecake
Smooth and creamy, this dairy free no bake cheesecake is the perfect dessert for any occasion! With a delightful oatmeal cookie crust and a light yet decadent vanilla cheesecake filling, it’s sure to be a family favorite. And the best part? It’s incredibly easy to make with no fuss involved. Egg free, gluten free and vegan.
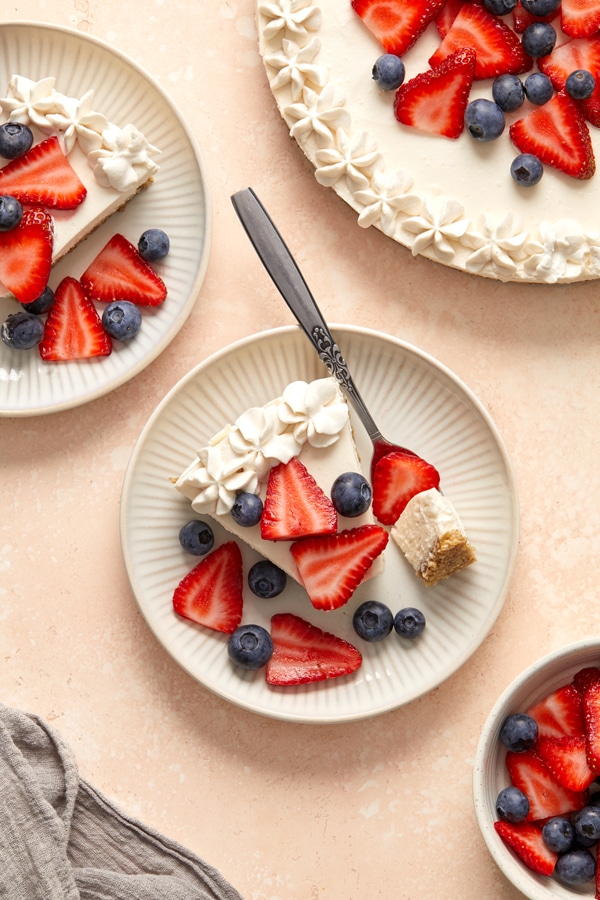
Ready for an irresistibly classic dessert?
Then say hello to this delightful dairy free no bake cheesecake.
With a super simple oatmeal cookie crust and a smooth, creamy and luscious vanilla cheesecake filling, it’s incredibly hard not to love.
But the best part?
There’s no oven involved. No dealing with water baths. No worrying about your cheesecake cracking straight down the middle.
Just a few simple ingredients and all the same classic flavors you know and love.
Without any of the dairy or hassle.
Tips & Tricks
For the oat crust:
- Be sure to use certified gluten free oats if needed for your diet.
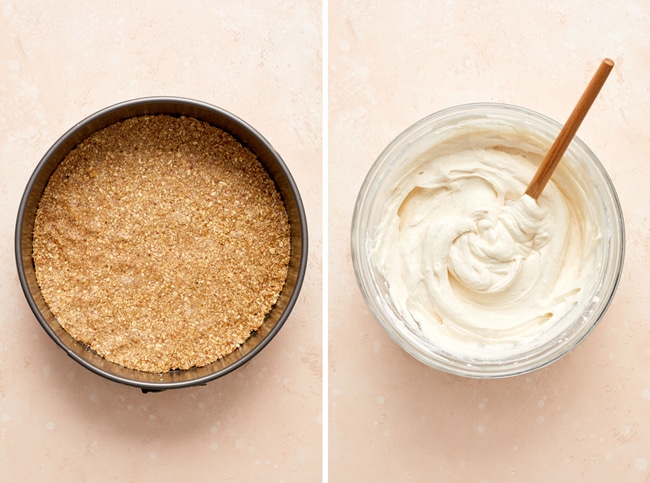
- You really want to press the crust firmly into the bottom of the springform pan – this helps it hold together when slicing. I like to first press really well with my fingers and then re-press with the back of a measuring cup to make sure it’s nice and packed in.
- Not feeling the oat crust? You can absolutely use your favorite dairy free (and gluten free if needed) graham cracker crust instead.
For the filling:
- Please make sure that your dairy free cream cheese and dairy free butter are at room temperature. Otherwise the mixture will be really hard to blend.
- As for the dairy free whipped topping – I tested this with a number of different brands. All worked just fine although I personally thought the cheesecake came out best with either the So Delicious Original Cocowhip (you can find this in the freezer section) or the Reddi Whip Non Dairy Whipped Topping (either the almond or coconut milk varieties – you can find them in the refrigerated section of the grocery store).
Dairy Free Cream Cheese Options
Dairy free cream cheese can vary quite a bit from brand to brand. To help account for this, I tested the cheesecake with several options:
Kite Hill Plain Cream Cheese // As this is a softer-style cream cheese, the cheesecake will also be a bit softer and have a more mousse-like texture. Because of this, I suggest letting the cheesecake chill overnight and make sure that you use a sharp knife when slicing. On the plus side, this cream cheese blends SO smoothly in the filling and you won’t have any lumps (you’ll only need to beat the filling for about 30 seconds with this brand).
Trader Joe’s Vegan Cream Cheese // As this is a firmer cream cheese, the cheesecake will set up firmer. This was our favorite as far as texture goes in the final product. With that said, because it is harder in texture, I found it unavoidable to wind up with some small lumps in the filling (although honestly you don’t taste them once the cheesecake is chilled). You will want to blend this one in the mixing bowl for a longer period of time to get it as smooth as you can – about 1 ½ minutes.
Tofutti Cream Cheese // This one behaves just like the Trader Joe’s cream cheese (see above). Personally I don’t like the flavor of Tofutti so this was our least favorite.
Daiya Plain Cream Cheese // While I didn’t test this one myself, my photographer did and she said it worked great. It took her about 1 ½ minutes to get it to blend in the mixing bowl and the cheesecake set up really well.
Violife Cream Cheese // This cream cheese is firmer but not quite as firm as the Trader Joe’s brand. It sets up kind of right down the middle – firmer than the Kite Hill but not as firm as the Trader Joe’s / Tofutti. You’ll want to blend this one for about 1 minute in the mixing bowl to get it as smooth as you can (there will still be a few lumps as it is firm-ish in texture). One important note – this brand comes in 7 ounce containers – so you’ll need to buy 3 containers total and then measure by weight to get the correct amount.
Topping Ideas
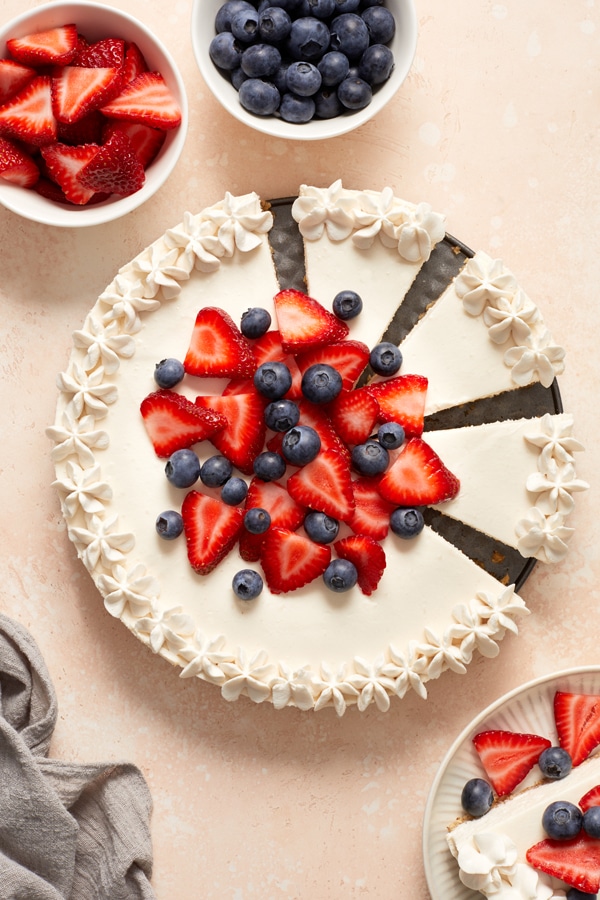
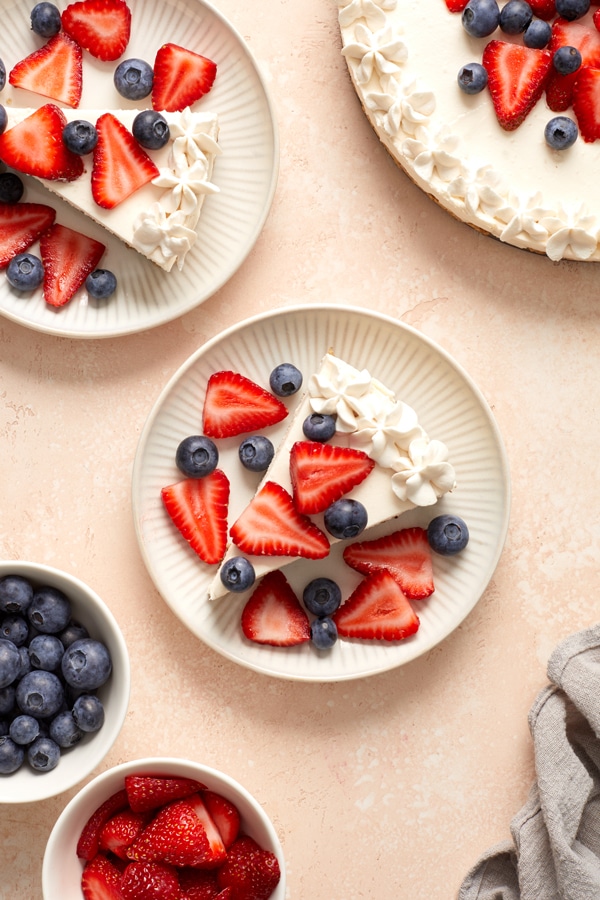
While this cheesecake is fantastic served plain, I can never resist adding a topping (or two). A few ideas:
- dairy free caramel sauce
- dairy free whipped cream
- fresh berries
- strawberry sauce or compote
- raspberry sauce or compote
How To Store
Fridge: The cheesecake will keep covered in the refrigerator for up to 5 days.
Freezer: Alternatively, you can freeze the cheesecake in an airtight container for up to 3 months. When ready to enjoy, thaw overnight in the fridge.
Additional Dairy Free Dessert Recipes:
- Dairy Free Pumpkin Cheesecake
- Dairy Free Banana Cake
- Dairy Free Apple Cake
- Dairy Free Blueberry Cake
- Dairy Free Cookie Cake
- Dairy Free Gingerbread Cake
Did you make this recipe? Rate and review it down below! I’d love to hear from you.
Dairy Free No Bake Cheesecake
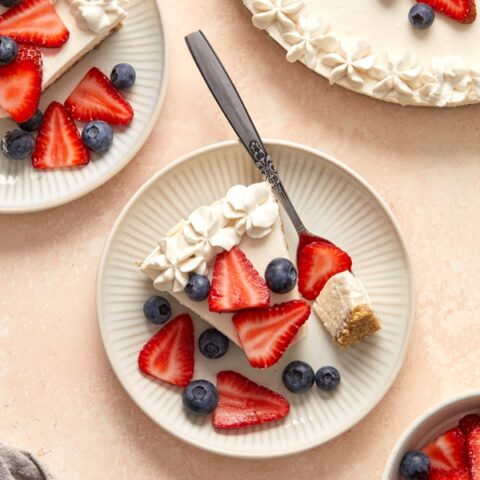
Smooth and creamy, this dairy free no bake cheesecake is the perfect dessert for any occasion! With a delightful oatmeal cookie crust and a light yet decadent vanilla cheesecake filling, it’s sure to be a family favorite. And the best part? It’s incredibly easy to make with no fuss involved.
Ingredients
For the crust:
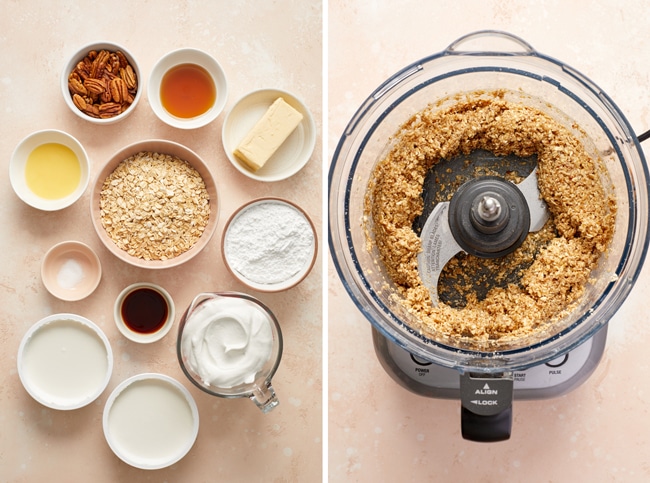
- 1 ½ cups old-fashioned rolled oats
- ⅔ cup raw pecans halves
- ¼ teaspoon fine sea salt
- 3 tablespoons dairy free butter, melted and cooled slightly
- 3 tablespoons pure maple syrup
For the filling:
- 2 (8 ounce) containers dairy free cream cheese, at room temperature*
- 1 cup confectioners’ sugar
- 8 tablespoons (1 stick) dairy free butter, at room temperature
- 2 teaspoons vanilla extract
- 2 cups dairy free whipped topping**
Instructions
For the crust:
- Lightly grease the bottom of a 9-inch springform pan with nonstick spray and set aside.
- Add the oats, pecans and salt to the bowl of a food processor. Pulse until the mixture is finely chopped and resembles coarse crumbs or coarse sand.
- Add in the melted dairy free butter and maple syrup and continue to pulse until the mixture is combined and evenly moistened.
- Dump the mixture into the prepared pan and use your fingers to tightly press the mixture into the bottom in an even layer - it helps tremendously to have slightly wet and clean hands when doing this (wash your hands throughout the process as needed).
- Transfer the crust to the freezer and let chill for 30 minutes before proceeding.
For the filling:
- To a large bowl, add the dairy free cream cheese, confectioners’ sugar, dairy free butter and vanilla. Using a hand mixer, beat until well combined, about 30 seconds to 1 ½ minutes (the time needed will depend on what brand of cream cheese you are using - please see the notes section*).
- Add the dairy free whipped topping to the bowl, then use a spatula to gently combine.
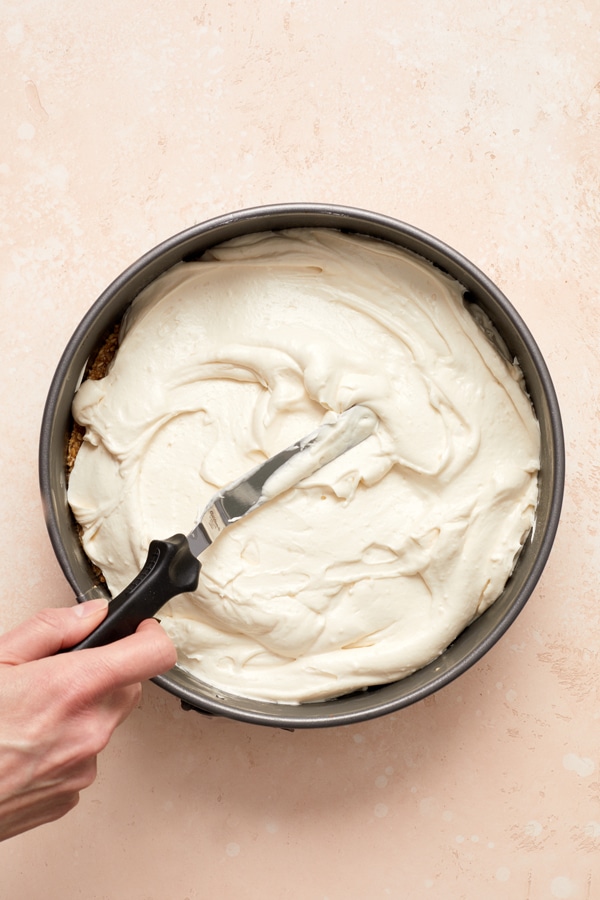
- Spread the mixture evenly over the chilled crust. Chill the pie in the refrigerator for at least 8 hours, but preferably overnight.
- Use a knife to loosen the cheesecake around the edge of the springform pan, then gently remove the rim. Slice with a sharp knife and serve cold, with any desired toppings.
Notes
*I tested this cheesecake with five different brands of dairy free cream cheese. Please see the “dairy free cream cheese options” section in the post above for details about each brand and how the cheesecake will differ slightly depending on which you use. This also includes information about the beating time when mixing the filling in the large bowl.
**For the dairy free whipped topping, you can use either the kind in the tub in the freezer section or the refrigerated kind in the can. A few notes:
For toppings that come in a tub in the freezer section, please make sure that you thaw first in the fridge before using in the recipe. For any toppings that come in a can, spray the topping into a small bowl and then measure out what you need (I also suggest buying two cans - I sometimes didn’t get enough from one can and you don’t want to run out).
Nutrition Information:
Yield: 10 Serving Size: 1Amount Per Serving: Calories: 473Total Fat: 38gSaturated Fat: 21gTrans Fat: 1gUnsaturated Fat: 14gCholesterol: 79mgSodium: 301mgCarbohydrates: 30gFiber: 2gSugar: 20gProtein: 5g
Nutrition data shown is an estimate provided by an online calculator and is for informational purposes only. It should not be considered a substitute for a medical professional’s advice.

If i don’t have a springform pan, can use a pie plate?
I think that should work! I’d probably use a deep dish pie plate if you have it (so you have plenty of room for the filling).
The butter doesn’t break down at room temp, I have little butter chunks that just won’t incorporate. I think it needs to he creamed in prior to using the hand mixer and should be softened not room temp. My house is about 70 and I let them sit for about 6 hours. Chunky cheese cake isn’t cool. Still tasted good but odd with butter nuggets.
Hey Chelsea – Did you check out the section in the post on what brands of dairy free cream cheese I suggest using? This is a known issue with certain brands (it likely wasn’t the butter but the cream cheese) and includes which ones I recommend for the cheesecake to avoid this.