Dairy Free Pumpkin Cheesecake
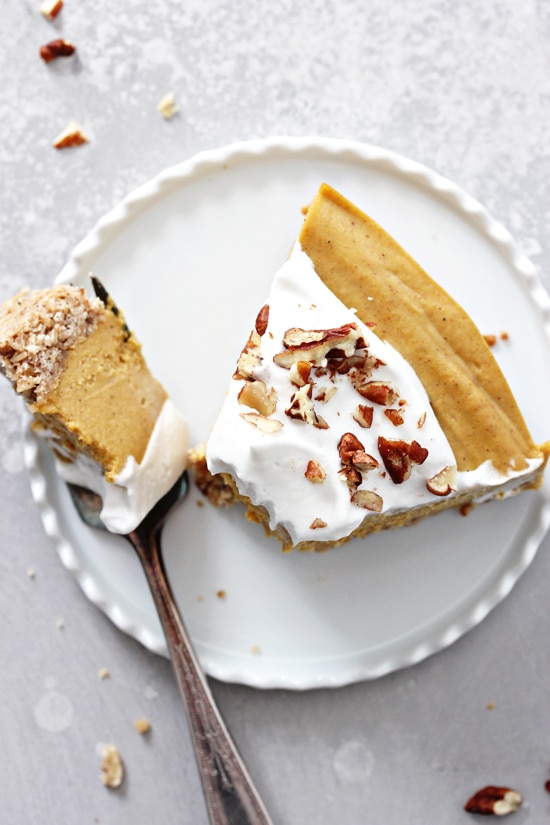
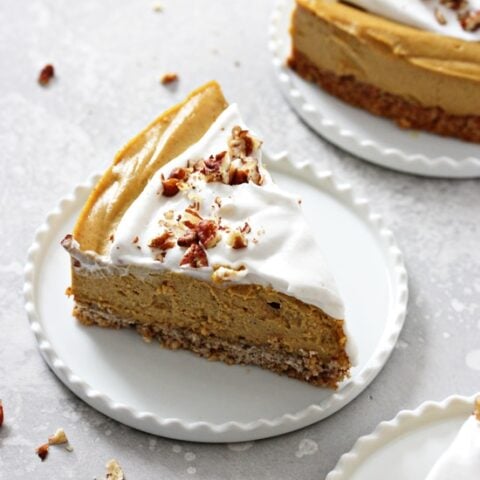
This light and fluffy dairy free pumpkin cheesecake is the perfect fall-themed dessert! With an oat pecan crust and a silky pumpkin pie flavored filling, it’s a must make for the holidays. An easy and healthier take on the classic dish, it’s also gluten free, soy free, egg free and vegan.
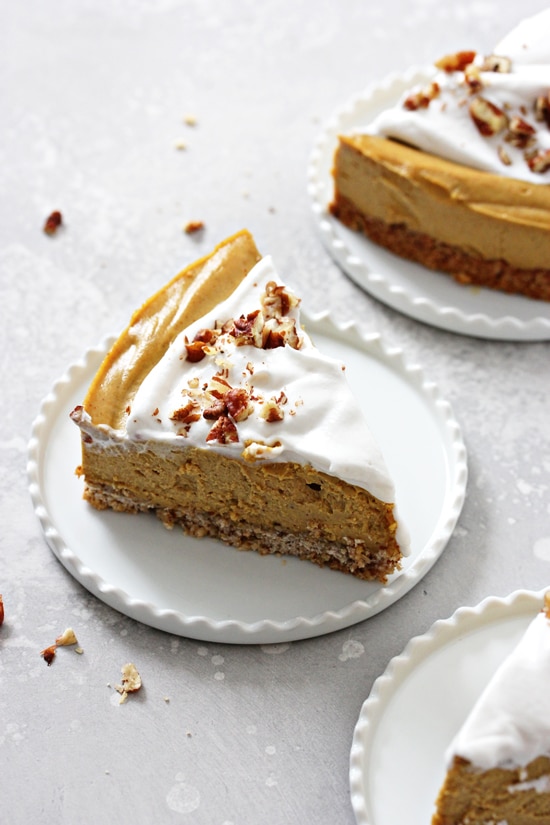
Cheesecake. It’s total celebration food, am I right or am I right?
And when I first learned about my dairy allergy, I thought my days of enjoying a slice were long, long gone.
But today, we’re proving that untrue with this delightful homemade dairy free pumpkin cheesecake!
That’s creamy and decadent yet also somehow light and fluffy at the same time.
And with that slight hint of classic tang + all the warm spiced goodness of fall, it’s seriously hard to resist.
Now, the filling of this cheesecake is not cloyingly sweet. BUT I find it’s balanced perfectly by the oat pecan crust and some whipped coconut cream for topping.
All combining into one delicious dessert that is just begging to be added to your fall or holiday baking plans ASAP.
How To Make
So, let’s talk about how this dish goes down:
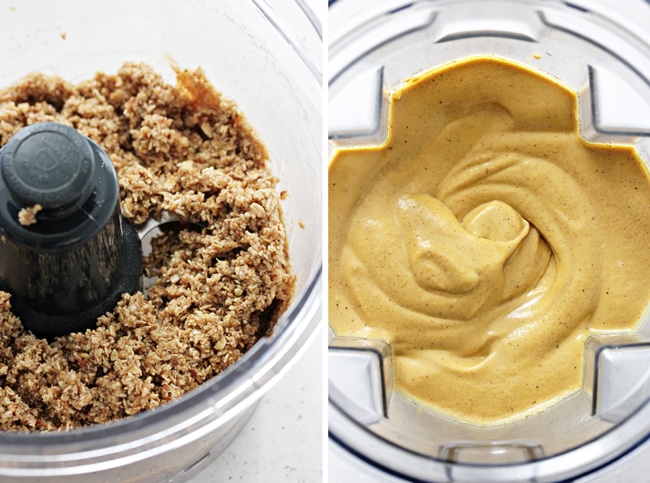
Make the crust. First up, we’ll pulse together some oats, pecans, coconut oil and maple syrup in a food processor, then press into a firm layer in a springform pan.
Bake for 15 minutes. Next, we’ll pop the crust in the oven and bake until just set and lightly golden around the edges.
Blend up the filling. After the crust has cooled, we’ll blend together all the ingredients for our cashew-based filling until smooth and creamy.
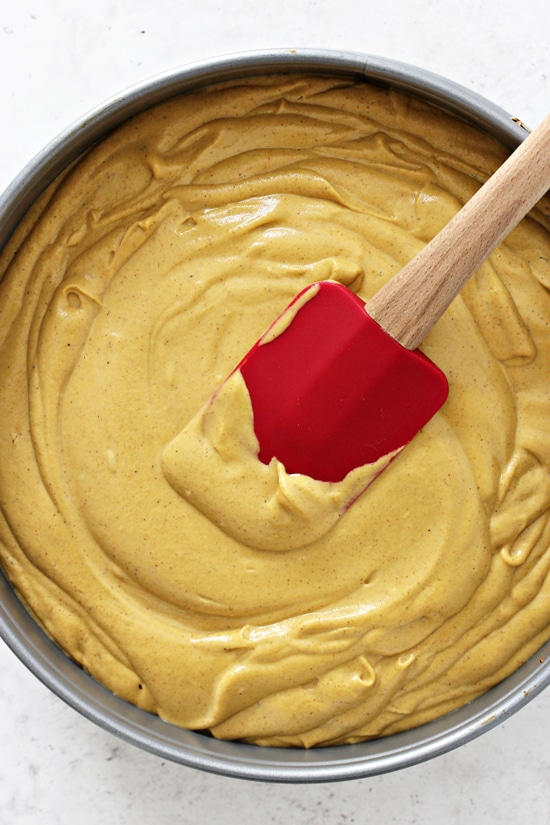
Assemble then freeze. Finally, we’ll pour the filling over the crust, then transfer to the freezer for about 8 hours, or until firm.
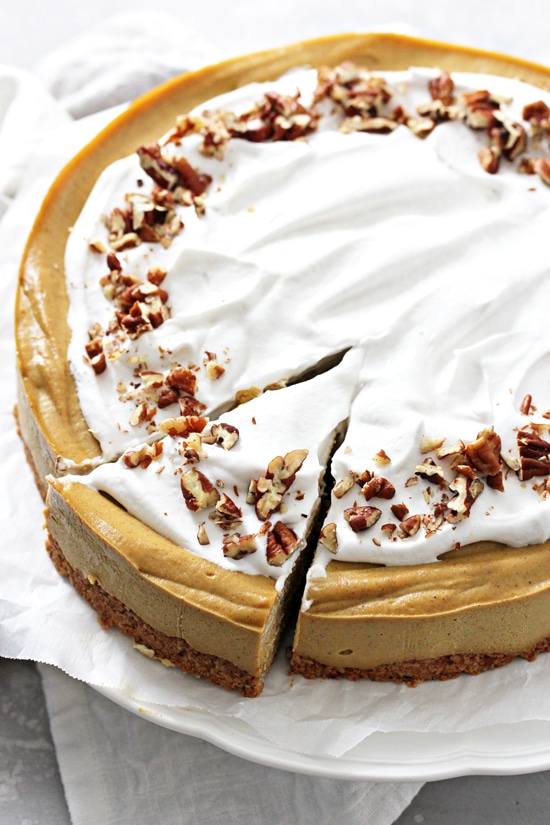
When ready to enjoy, we’ll thaw out the cheesecake and then serve with plenty of whipped coconut cream.
Substitutions
- You can absolutely use raw walnuts in place of the pecans in the crust.
- A different dairy free milk or even water can be used instead of the almond milk in the filling.
- And finally, please be sure to stick with the type of coconut oil that comes in a jar and hardens at cooler temperatures. You do NOT want to use refined liquified coconut oil for this recipe as that hardening factor is essential for allowing the cheesecake to set up correctly.
Tips & Tricks
- If you forget to soak your cashews overnight, use the following quick soak method instead. Add the cashews to a heatproof bowl, then cover with boiling water. Let soak for 30 minutes to 1 hour, then proceed with the recipe.
- I strongly encourage you to use a high speed blender for this cheesecake. Regular blenders won’t be quite powerful enough to get the cashew filling to that perfect creamy, smooth consistency.
- Keep in mind that the recipe time does NOT include time for the cheesecake to set in the freezer. Additionally, remember to plan ahead and allow time for thawing it out.
- Finally, be sure to measure your pumpkin puree in a dry measuring cup. It won’t level off correctly in a liquid one.
How To Store
Fridge: Once thawed, the cheesecake will keep in the refrigerator for up to 4 days. I’d suggest keeping in the fridge until ready to enjoy – it can get soft quickly at room temperature once thawed out.
Freezer: Alternatively, store in the freezer for up to 3 months – either wrapped well if whole or in an airtight container if sliced.
Transfer to the fridge to thaw before serving (see instructions in the recipe below).
Additional Dairy Free Dessert Recipes:
- Dairy Free Apple Pie
- Dairy Free Pumpkin Pie
- Gluten Free Dairy Free Apple Crisp
- Dairy Free Pecan Pie
- Dairy Free Apple Cake
- Dairy Free No Bake Cheesecake
Did you make this recipe? Rate and review it down below! I’d love to hear from you.
Dairy Free Pumpkin Cheesecake
This light and fluffy dairy free pumpkin cheesecake is the perfect fall-themed dessert! With an oat pecan crust and a silky pumpkin pie flavored filling, it’s a must make for the holidays. An easy and healthier take on the classic dish.
Ingredients
For the crust:
- 2 cups old-fashioned rolled oats
- ¾ cup raw pecans halves
- ¼ teaspoon fine sea salt
- ¼ cup melted coconut oil, cooled slightly*
- ¼ cup pure maple syrup
- about 1 tablespoon water, or as needed
For the filling:
- 3 cups raw cashews, soaked overnight**
- ⅔ cup pumpkin puree (not pumpkin pie filling)
- ¼ cup unsweetened plain almond milk
- ½ cup plus 2 tablespoons pure maple syrup
- 2 tablespoons unsulphured molasses
- ½ cup melted coconut oil, cooled slightly*
- ¼ cup freshly squeezed lemon juice
- 2 teaspoons vanilla extract
- 2 teaspoons ground cinnamon
- ½ teaspoon ground ginger
- ½ teaspoon ground nutmeg
- ⅛ teaspoon ground cloves
- ⅛ teaspoon ground allspice
- ⅛ teaspoon fine sea salt
Serving ideas:
- whipped coconut cream
- chopped raw pecans
- dairy free chocolate shavings / chips
Instructions
For the crust:
- Preheat the oven to 350ºF. Grease the bottom of a 9-inch springform pan with nonstick or olive oil spray. Set aside.
- Add the oats, pecans and salt to the bowl of a food processor. Pulse until the mixture is finely chopped and resembles coarse crumbs or coarse sand.
- Add in the coconut oil and maple syrup and continue to pulse until the mixture is combined and comes together in clumps if you press it with your fingers - add up to about 1 tablespoon water to achieve this consistency (I usually need to add the full tablespoon).
- Transfer the dough to the prepared pan then use wet fingers to press firmly into the bottom in an even layer (if it gets too sticky, wash your hands and try again). Prick the bottom of the crust a few times with a fork.
- Bake for about 15 minutes, until set and lightly golden brown around the edges. Transfer to a wire rack and let cool completely before proceeding.
For the filling:
- Drain and rinse the cashews, then add to a high-speed blender along with all the other ingredients for the filling.
- Blend on high until completely smooth and creamy, about 1 ½ to 2 minutes.
- Pour the filling over the cooled crust, then spread evenly with a spatula. Gently tap the pan on the counter a few times to release any air bubbles.
- Transfer to the freezer and chill until completely firm, about 8 hours to overnight.
To thaw / serve:
- In the morning, carefully remove the frozen cheesecake from the springform pan, then transfer to a serving plate / stand.***
- Place in the refrigerator and allow to thaw for about 6 to 8 hours, or until it reaches that typical cheesecake consistency (the exact time will vary depending on your fridge). Once thawed, keep in the fridge until ready to serve.
- {If you are in a rush, remove the cheesecake from the pan then let thaw on the counter at room temp for 30 to 45 minutes. Slice the cheesecake, then let the individual slices thaw for an additional 30 to 45 minutes to reach that desired consistency - this time can vary slightly depending on the temperature in your house.}
- Serve each slice with a generous dollop of whipped coconut cream and / or chopped pecans / chocolate shavings.
Notes
*Melt the coconut oil first, then measure out the correct amount.
**Add the cashews to a medium bowl and cover with water. Allow to soak at room temperature for at least 8 hours or overnight. If you forget, a quick soak method is included in the tips & tricks section in the post above.
***Be sure to remove the sides of the springform pan while the cheesecake is still frozen - once thawed / softened the sides will stick if you try to remove.
Nutrition Information:
Yield: 10 Serving Size: 1Amount Per Serving: Calories: 533Total Fat: 40gSaturated Fat: 17gTrans Fat: 0gUnsaturated Fat: 19gCholesterol: 0mgSodium: 90mgCarbohydrates: 38gFiber: 5gSugar: 14gProtein: 10g
Nutrition data shown is an estimate provided by an online calculator and is for informational purposes only. It should not be considered a substitute for a medical professional’s advice.

Amazing texture and I love all the wonderful spices…and that whipped coconut cream is to die for. I would devour the whole cake!
haha thanks Angie!