Dairy Free Peppermint Ice Cream
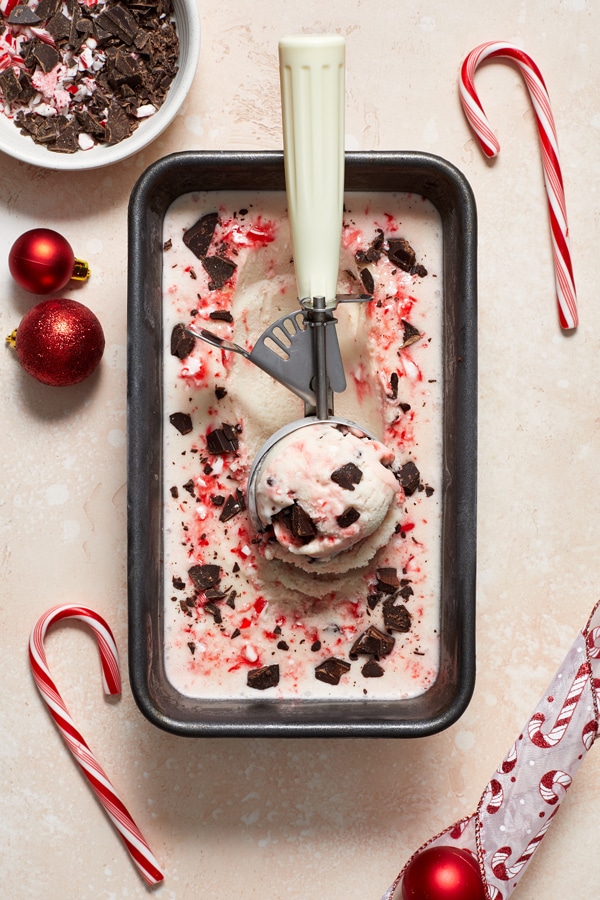
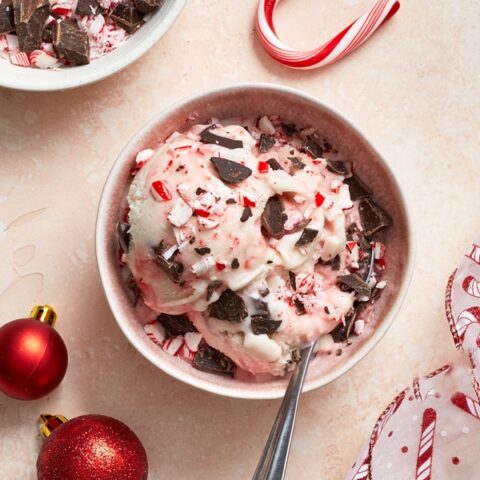
This dreamy dairy free peppermint ice cream is a must-make for the holiday season! Sweet, creamy and perfectly decadent, it features a vanilla peppermint base swirled with crushed candy canes and rich chocolate chips. Egg free, gluten free and vegan.
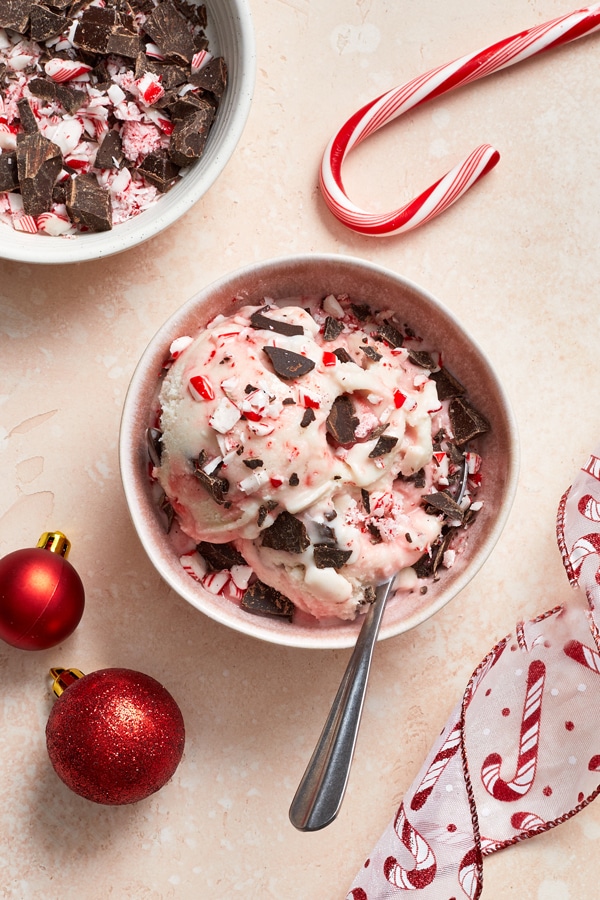
It might be chilly outside but there’s no reason not to enjoy a scoop of this homemade dairy free peppermint ice cream.
Sweet, creamy and perfectly decadent, it features a vanilla peppermint base loaded with plenty of crushed candy canes and rich chocolate chips.
Giving the ice cream some serious peppermint bark vibes.
You can enjoy it on its own, cozied up by the fire. Or try a scoop served over a warm dairy free brownie. It’s winter dessert perfection.
Tips & Tricks
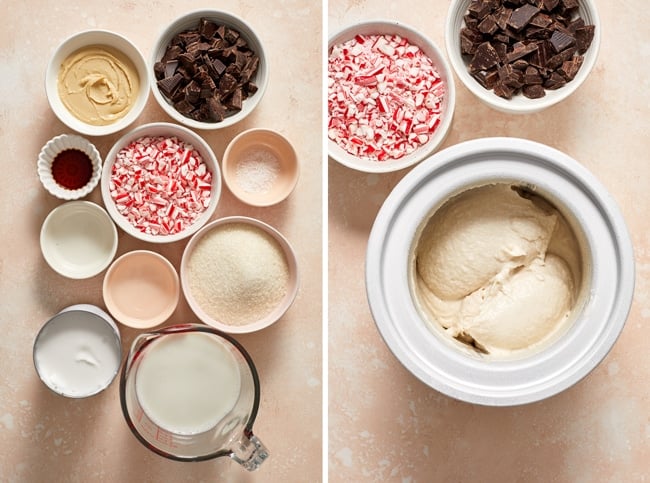
- If possible, I recommend letting the ice cream base mixture chill overnight in the fridge before churning. Not only does it churn quicker the following day, but I find the consistency is also better as well.
- Along those lines, don’t over-churn the ice cream. Be sure to stop when it’s the consistency of soft serve. If you go longer, it can get a sort of grainy texture (which we obviously don’t want).
- Let’s talk about the optional vodka. Because homemade ice cream doesn’t contain any preservatives or fillers, it freezes harder than store-bought versions. Vodka doesn’t freeze, so adding a touch to the ice cream helps make it more scoop-able and softer in texture. It’s not necessary but I’ve found it does help.
Ingredient Notes
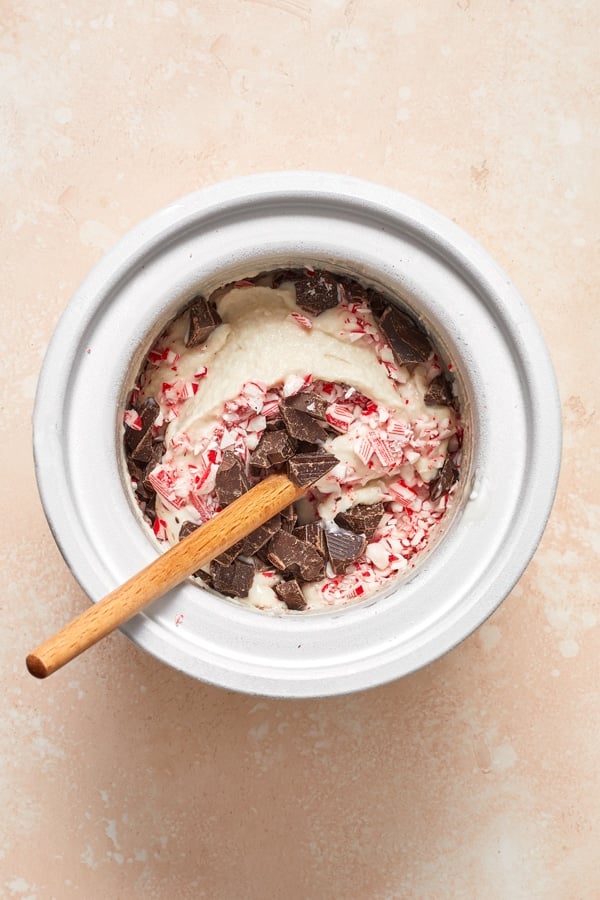
- The full-fat coconut milk is non negotiable. Please do not use light canned coconut milk – you really need the extra fat.
- As far as the oat milk, I personally like to use either Chobani Plain oat milk or Oatly Original oat milk (not sponsored, just what I prefer). With that said, other oat milk brands will absolutely work as long as you do not use anything that’s low fat or light.
- About 5 to 7 regular sized candy canes will give you the ½ cup crushed.
- I like to finely crush the candy canes so there’s no giant chunks in the final product, but feel free to leave bigger pieces if desired. The easiest way to do this – add the candy canes to a ziplock baggie, seal and then smash with the back of a measuring cup.
- The chocolate chips are completely optional BUT they give the ice cream a fantastic peppermint bark flavor.
How To Store
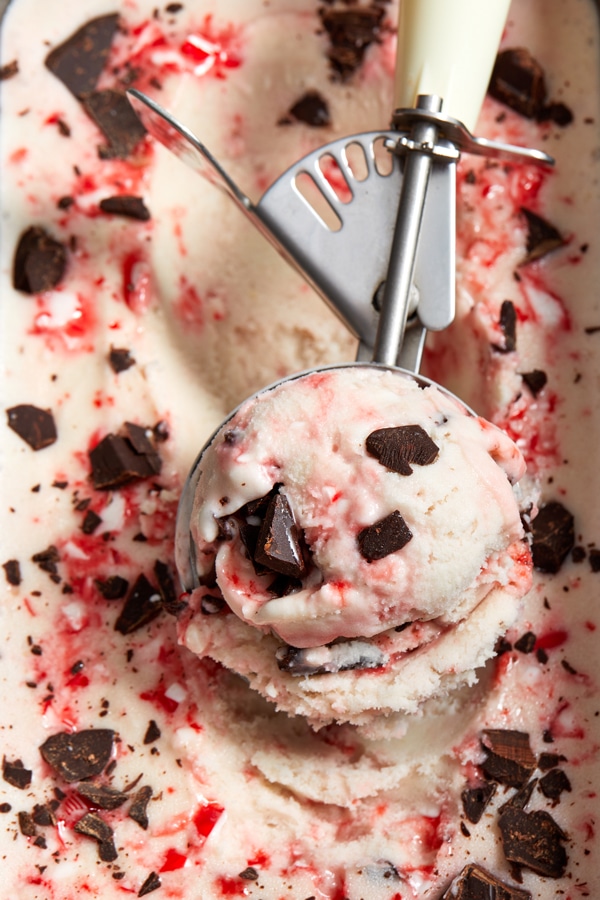
Freezer: Keep the ice cream in an airtight container in the freezer for up to 2 weeks. With that said, it is 100% best enjoyed within the first 24 to 48 hours after churning – it will be creamiest during this time. The longer it sits, the icier it will get.
Personally, we love to enjoy this ice cream about 3 to 5 hours after churning. This gives it just enough time in the freezer to harden to the consistency of regular ice cream, while being perfectly soft and creamy in texture. It will also scoop super easily.
If you go longer, you can let the ice cream sit on the counter for about 10 to 20 minutes to soften before scooping.
Additional Dairy Free Ice Cream Recipes:
- Dairy Free Cookies and Cream Ice Cream
- Dairy Free Mint Chocolate Chip Ice Cream
- Dairy Free Peanut Butter Ice Cream
Did you make this recipe? Rate and review it down below! I’d love to hear from you.
Dairy Free Peppermint Ice Cream
This dreamy dairy free peppermint ice cream is a must-make for the holiday season! Sweet, creamy and perfectly decadent, it features a vanilla peppermint base swirled with crushed candy canes and rich chocolate chips.
Ingredients
- 1 (14 ounce) can full fat coconut milk
- ⅔ cup pure cane sugar (or granulated sugar)
- ⅓ cup cashew butter
- ¼ teaspoon fine sea salt
- 1 ¼ cups oat milk
- 1 teaspoon vanilla extract
- ¾ teaspoon peppermint extract, or more to taste
- 2 tablespoons vodka, optional*
- ½ cup crushed dairy free candy canes
- ½ cup chopped dairy free chocolate or dairy free chocolate chips
Instructions
- To a small saucepan, add the coconut milk, sugar, cashew butter and salt. Set the pan over medium heat and cook, whisking frequently, until smooth and the sugar and cashew butter have dissolved into the mixture.
- Let the mixture just barely start to simmer around the edges, then immediately remove from the heat. Whisk in the oat milk, vanilla and peppermint extract. Taste the mixture and add additional peppermint extract as desired (go slowly!).**
- Transfer the mixture to a medium bowl and let cool to room temperature. Cover then refrigerate until the mixture is well chilled, at least four hours or up to overnight.
- Whisk in the vodka, then freeze the chilled mixture in an ice cream maker according to the manufacturer’s directions, until it is the consistency of soft serve.
- Gently fold in the crushed candy canes and chocolate.
- Transfer the ice cream to a freezer safe container, then pop in the freezer for several hours, or until hardened to the consistency of regular ice cream. {See the how to store section in the post above for important information on storing.}
Notes
Depending on your ice cream maker, don’t forget to place your churning bowl in the freezer for at least 24 to 48 hours before using so that it is properly chilled.
*While the vodka is optional, it helps make the ice cream more scoop-able in texture (see the tips & tricks section in the post for more information). After churning, you won’t taste it at all. Additionally, while I’ve never had issues with plain vodka containing dairy, please check with the manufacturer if in doubt.
**I’ve found that exactly how much peppermint extract you’ll want to add varies by the brand you’re using (some taste stronger than others). I tested this recipe using Simply Organic’s Peppermint Flavor and found I needed to add 1 teaspoon total to get the level I wanted. But adjust this to you.
To keep this recipe vegan - be sure to use vegan candy canes and vodka.
Nutrition Information:
Yield: 8 Serving Size: 1Amount Per Serving: Calories: 324Total Fat: 15gSaturated Fat: 8gTrans Fat: 0gUnsaturated Fat: 6gCholesterol: 0mgSodium: 109mgCarbohydrates: 46gFiber: 1gSugar: 36gProtein: 3g
Nutrition data shown is an estimate provided by an online calculator and is for informational purposes only. It should not be considered a substitute for a medical professional’s advice.


Love this recipe for dairy free ice cream! It was easy and delicious. Next time, we’ll add vodka and do better with our timing to get it as pretty as the picture, but it was yummy. There’s nothing like it in a grocery store, so, a big hit for us! Looking forward to trying Mint Chocolate Chip! Thank you! 💖
Thank you so much for taking the time to review the recipe Charla! 🙂