Dairy Free Chicken Pot Pie Casserole
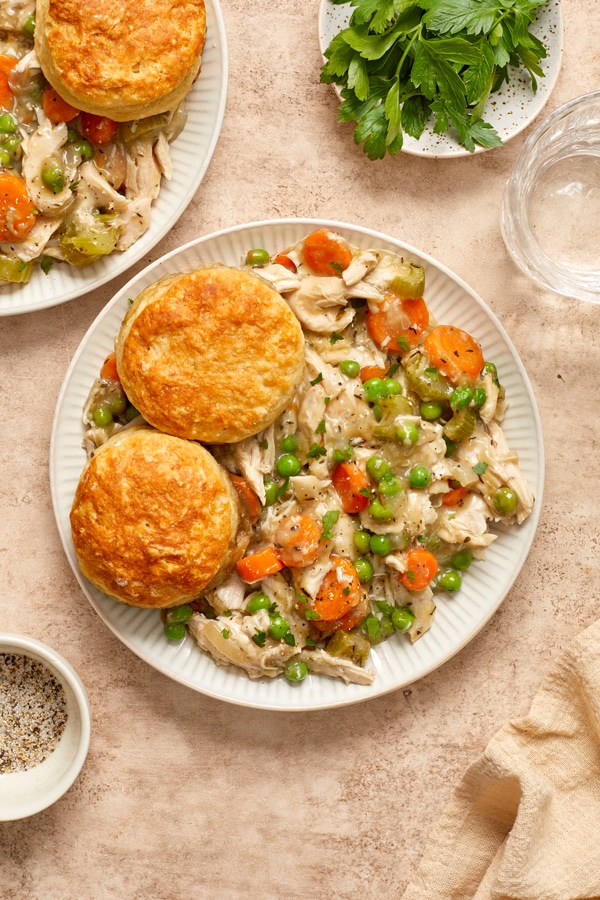
Creamy, cozy and ultra comforting, this dairy free chicken pot pie casserole is a must for colder weather! Featuring an incredible filling packed with fresh veggies, juicy chicken and warm spices, it’s finished with a soft and tender homemade biscuit topping. Egg free and soy free with a gluten free option included.
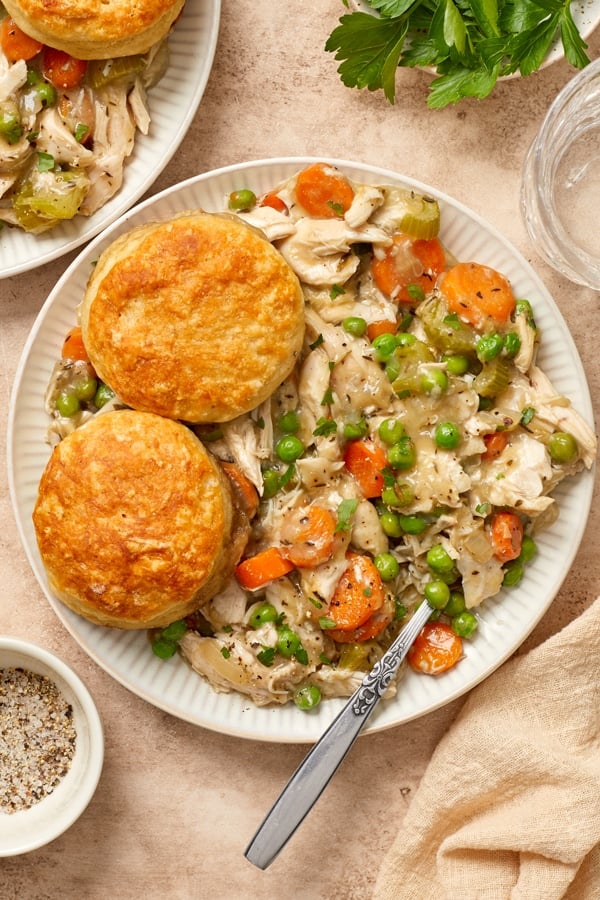
In the mood for something cozy?
This dairy free chicken pot pie casserole is the answer to all your winter dinnertime needs.
Rich, creamy and oh-so-comforting, it’s packed with all the flavors of the classic dish you know and love … with a bit less hassle.
We start with an incredible filling packed with veggies, chicken and a delicious sauce, and then top it off with some easy homemade biscuits that bake up perfectly golden in the oven.
Serve with a green vegetable or salad and you got yourself a fantastic dinner that’s perfect for the whole family.
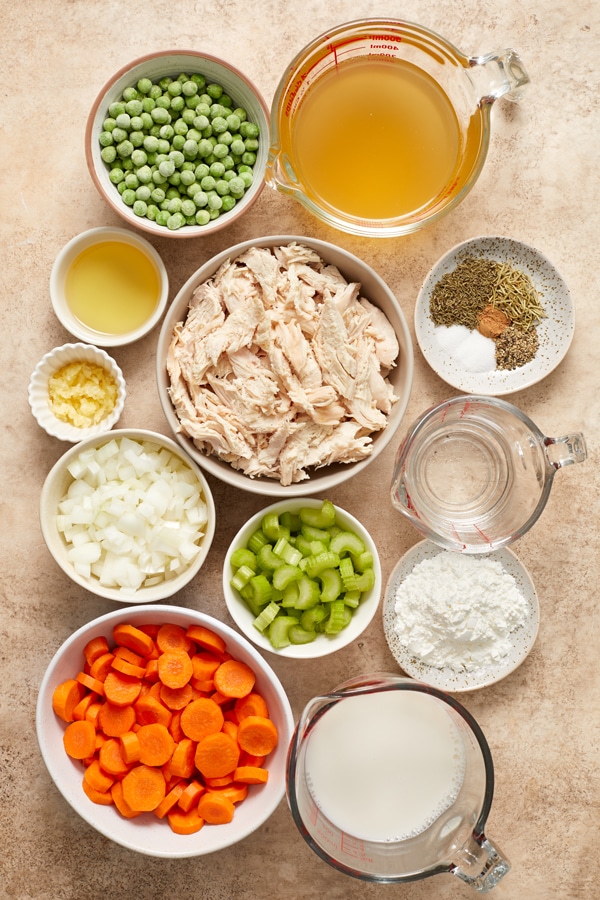
Tips & Tricks
- I highly recommend cooking your chicken in advance or using a rotisserie chicken – it makes the casserole much more manageable for a weeknight meal. You can use chicken breasts or thighs if cooking yourself.
- Along those lines, I also like to cut up the onion, carrot and celery in advance to save time.
- Leftover roasted turkey would be fantastic in place of the chicken. I think this casserole would be an awesome way to put thanksgiving leftovers to good use.
- Finally, you could absolutely use store bought dairy free biscuit dough rounds instead of the homemade version included in the recipe.
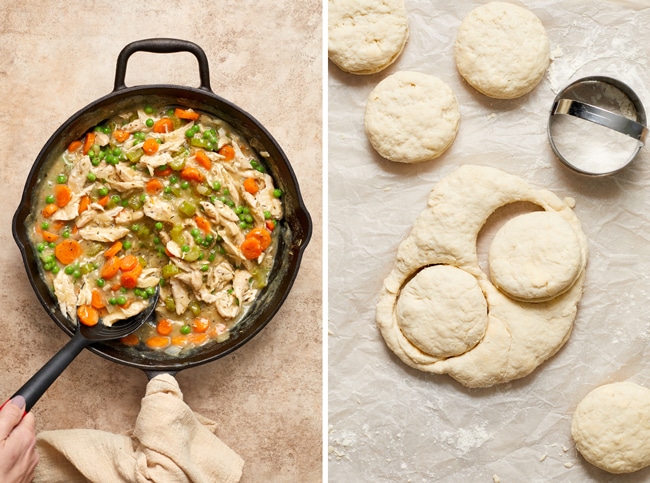
Ingredient Notes
- If you don’t enjoy peas, you can substitute frozen corn kernels (fresh corn kernels would also work).
- When measuring out your flour for the biscuits, fluff it in the bag then scoop into your measuring cup with a spoon and level off. If you dunk the cup directly into the bag, you’ll likely use too much.
- Let’s talk about the baking powder. Yes, you want to use a full tablespoon in the biscuits! To avoid any aluminum taste, I like to use aluminum free baking powder.
- Please make sure to use the kind of dairy free butter that comes in sticks – it needs to be nice and firm when cold and not spreadable straight from the fridge.
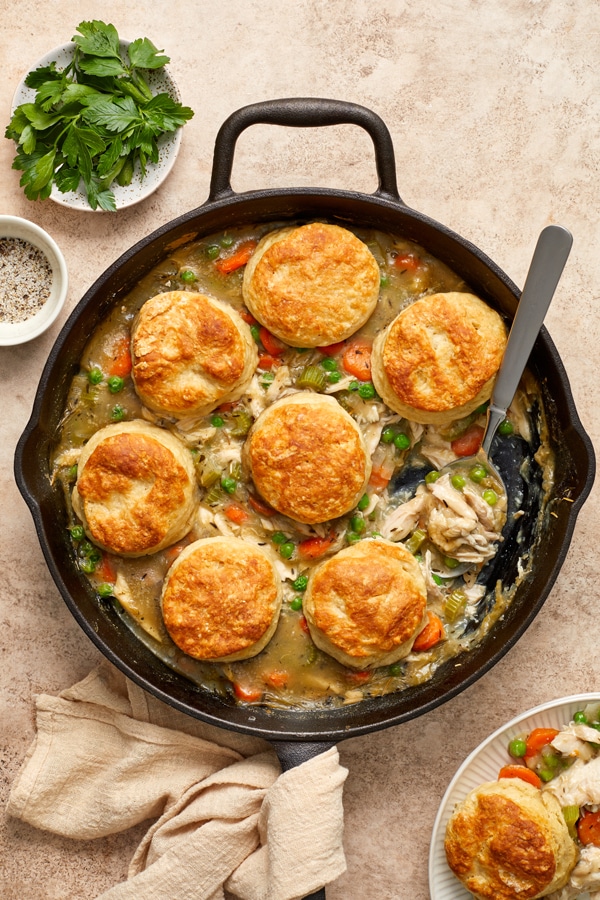
How To Store
Fridge: Let the casserole cool completely then transfer to an airtight container. It will keep in the refrigerator for about 3 to 4 days.
Reheat gently before enjoying. You can do this in the microwave or the oven – the microwave is nice and quick but the oven will give you a better texture for the biscuits.
Additional Dairy Free Dinner Recipes:
- Dairy Free Chicken Noodle Casserole
- Dairy Free Chicken and Rice Casserole
- Dairy Free Shepherd’s Pie
- Dairy Free Baked Ziti
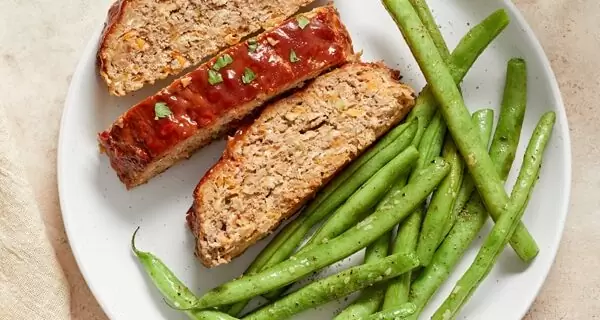
- Dairy Free Meatloaf
- Dairy Free Chicken Taquitos
Did you make this recipe? Rate and review it down below! I’d love to hear from you.
Dairy Free Chicken Pot Pie Casserole
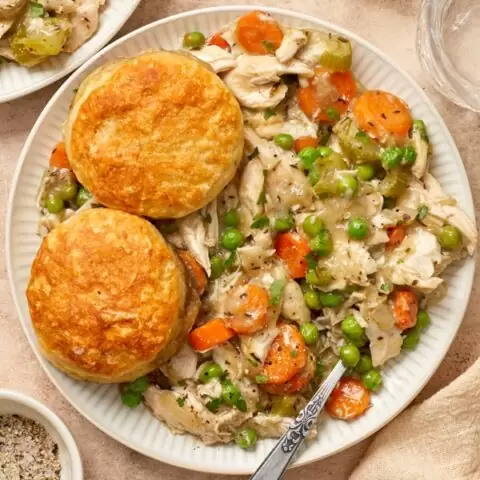
Creamy, cozy and ultra comforting, this dairy free chicken pot pie casserole is a must for colder weather! Featuring an incredible filling packed with fresh veggies, juicy chicken and warm spices, it’s finished with a soft and tender homemade biscuit topping.
Ingredients
For the filling:
- 2 tablespoons olive oil
- 1 medium onion, chopped
- 4 medium carrots, chopped
- 2 medium stalks celery, chopped
- 3 cloves garlic, minced
- 1 teaspoon dried thyme
- ½ teaspoon dried rosemary
- ⅛ teaspoon ground nutmeg
- ½ teaspoon fine sea salt
- ¼ teaspoon pepper
- 1 ½ cups low-sodium chicken broth
- 1 ½ cups unsweetened almond milk
- ⅓ cup cold water
- 3 tablespoons cornstarch
- 3 ½ cups shredded cooked chicken
- 1 cup frozen peas (do not thaw)
For the topping:
- ¾ cup chilled unsweetened almond milk
- 2 teaspoons white distilled vinegar
- 2 cups all-purpose flour*
- 1 tablespoon baking powder
- ½ teaspoon baking soda
- ½ teaspoon fine sea salt
- ⅓ cup dairy free butter, cold and cut into small chunks**
- 1 tablespoon honey
Instructions
- Preheat the oven to 425ºF.
For the filling:
- Add the oil to a large oven-safe, deeper-style skillet*** set over medium heat. When hot, add in the onion, carrot and celery and cook for about 8 to 10 minutes, until tender. Stir in the garlic, thyme, rosemary, nutmeg, salt and pepper and cook for 30 seconds, until fragrant.
- Add in the broth and almond milk. Increase the heat and bring the mixture to a simmer. Meanwhile, whisk together the water and cornstarch in a small bowl.
- Once simmering, whisk in the cornstarch mixture, then continue to cook for about 5 minutes, whisking occasionally and adjusting the heat as needed to maintain a simmer, until thickened slightly. Remove from the heat and stir in the cooked chicken and frozen peas. Taste and season with additional salt / pepper as desired, then set aside.
For the topping:
- In a liquid measuring cup, stir together the chilled almond milk and vinegar.
- In a large bowl, whisk together the flour, baking powder, baking soda and salt. Add in the dairy free butter chunks and use a pastry cutter to cut into the flour, continuing until it resembles even-sized crumbs.
- Add the honey and about ¾ of the almond milk mixture to the bowl, then mix until just combined - the dough should be slightly shaggy but not overly dry. Slowly add the rest of the almond milk mixture as needed to achieve this texture (I usually add all or just about all).
- Dump the dough onto a well floured surface. With well floured hands, turn the dough over onto itself about 3 or 4 times, then bring it together and pat into a circle that is about ¾ to 1 inch thick.
- Using a 2 to 2 ½ inch biscuit cutter, cut out biscuits from the dough. Pat together the scraps into another circle and cut out additional biscuits until the dough is used up.
- Arrange the biscuits on top of the pot pie filling. If desired, brush the tops of the biscuits with a little extra almond milk.
- Bake for about 20 to 22 minutes until the biscuits are puffed, lightly golden and cooked through, and the filling is bubbling.
- Let the casserole stand for at least 15 minutes before enjoying.
Notes
*To keep this gluten free - use a 1 to 1 gluten free all-purpose flour. I tested the pot pie once with King Arthur’s Gluten Free Measure for Measure Flour and once with Bob’s Red Mill Gluten Free 1 to 1 Baking Flour. We thought the biscuits were significantly better using the Bob's Red Mill flour (not sponsored, just my thoughts!).
**To keep this soy free, be sure to use an appropriate dairy free butter.
***As far as deeper-style skillets, the one I use is a 5 quart braiser that’s 13 inches in diameter. The one you see in the photos (that also works) is 12 inches in diameter and about 2.5 inches deep. If you don’t have something about this size, you can cook the filling mixture in a large skillet and then transfer to a 9x13 inch baking dish (and then top with the biscuits). It works well, but the filling doesn’t thicken up quite as much straight out of the oven. Be sure to let it rest for about 20 to 25 minutes before serving (it thickens up nicely during this time and is equivalent to using the braiser pan).
Nutrition Information:
Yield: 6 Serving Size: 1Amount Per Serving: Calories: 550Total Fat: 27gSaturated Fat: 10gTrans Fat: 0gUnsaturated Fat: 15gCholesterol: 101mgSodium: 976mgCarbohydrates: 49gFiber: 4gSugar: 6gProtein: 27g
Nutrition data shown is an estimate provided by an online calculator and is for informational purposes only. It should not be considered a substitute for a medical professional’s advice.

I had to click through from FB when I saw this in my feed! This looks absolutely inviting! I love that you have not used any condensed anything soup in this – my kind of recipe and I cannot wait to make this ! Thank you for it! Happy New Year, Ashley!
Thanks Shashi!