Dairy Free Sugar Cookies
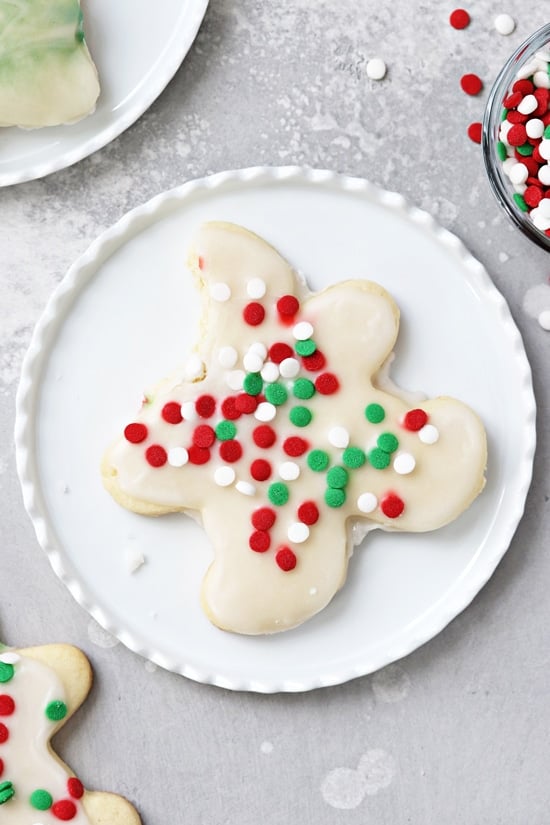
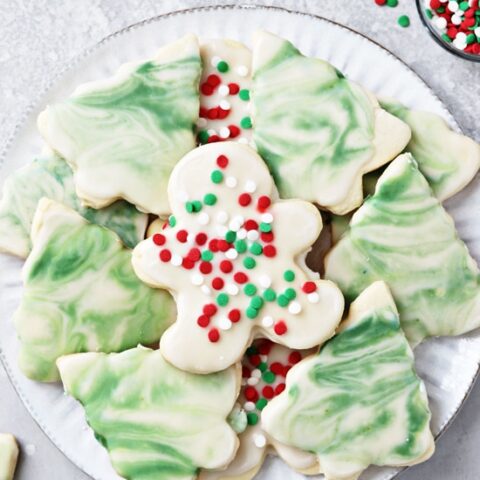
Say hello to the BEST cut out dairy free sugar cookies. With lightly crisp edges and soft centers, these dreamy cookies are perfect for decorating. Easy to make and wonderfully classic, they hold their shape beautifully while baking. A total must for Christmas and the holidays, you’ll never want to use another cut out recipe again!
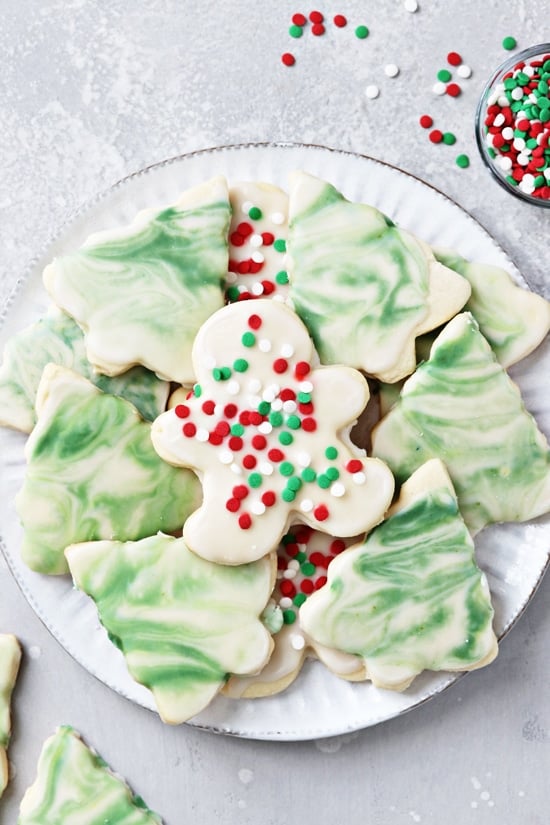
One of my favorite holiday traditions?
Making cut out sugar cookies to decorate with ALL the sprinkles while blasting Christmas music through the house.
I mean, it just doesn’t get much better.
Which is why I’m so excited to bring you today’s dairy free version of this classic treat.
And lemme tell you, these cookies are so darn irresistible you won’t even realize there’s no milk, cream or real butter involved.
Here’s why I think you’ll dig them:
- They have lightly crisp edges + soft thick centers.
- Are packed with dreamy vanilla almond flavor.
- Hold their shape beautifully and have a nice flat surface for decorating.
- AND they stay soft for days.
You can top them with your favorite frosting OR try our super simple homemade icing included down below!
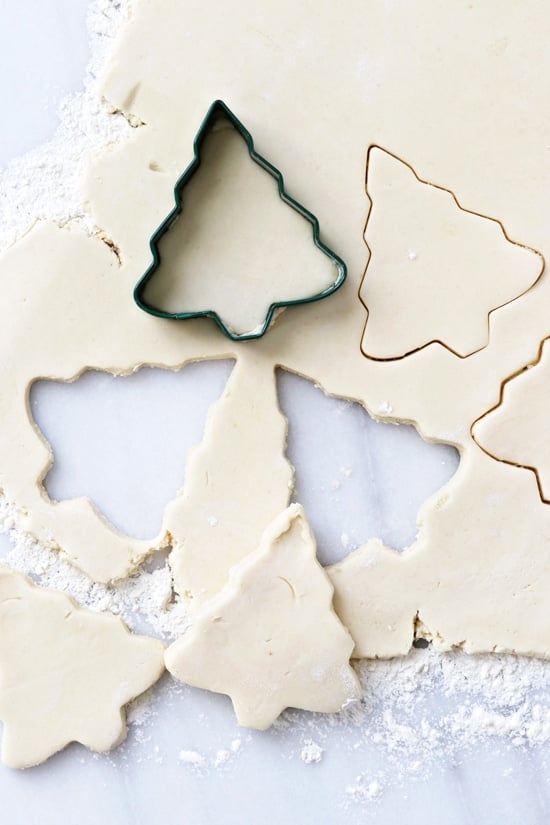
How To Make
So, let’s talk about how these classic cookies go down:
Cream butter and sugar. First up, we’ll beat together some dairy free butter and confectioners’ sugar in a stand mixer until smooth and creamy.
Add all other ingredients. Next, we’ll add in an egg, vanilla extract, almond extract and flour, and mix until a soft dough forms.
Chill until firm. We’ll wrap the dough in plastic wrap and pop in the fridge for at least 2 hours, or until nice and firm.
Roll out and bake. Finally, we’ll roll out the dough, cut out with cookie cutters and then bake until the edges are just set.
You can frost with our go-to icing OR use your own favorite.
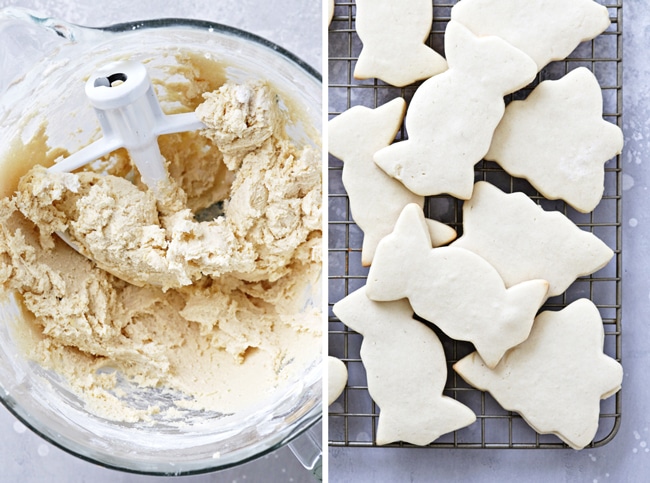
Tips & Tricks
- When measuring out your flour, fluff in the container then scoop into your measuring cup with a spoon and level off. Don’t dunk the cup straight into the bag as you’ll likely use too much.
- It’s important to stick with confectioners’ sugar for these cookies as it keeps them from spreading during baking. I would NOT recommend substituting out for something else.
- As far as the dairy free butter, I like Country Crock’s plant butter with avocado oil (not sponsored, just what I use and recommend).
- Please be sure to roll out the dough to the listed ¼ inch thickness. This is what allows the cookies to bake up with perfectly soft centers.
- And finally, the cookie cutters that I use for this recipe are about 3 inches long – giving me right around 21 cookies. Just keep in mind that the yield can vary quite a bit depending on the size of your cutters.
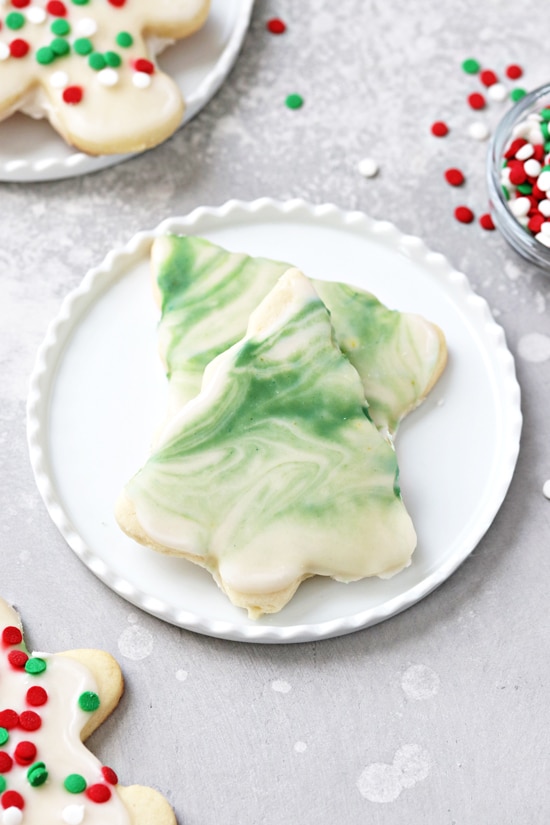
How To Store
Counter: Plain or decorated sugar cookies will keep in an airtight container at room temperature for about 5 days.
If you use the icing recipe included down below, you can stack them once they’re dry without the need for parchment.
Freezer: Plain cookies will keep in an airtight container in the freezer for up to 3 months.
{I haven’t tried freezing the cookies once decorated but my guess is they would do okay. I’d recommend layering with parchment paper if they are decorated and you plan to freeze.}
Additional Dairy Free Cookie Recipes:
- Chewy Coconut Oil Sugar Cookies
- Dairy Free Gingerbread Cookies
- Dairy Free Snickerdoodles
- Dairy Free Thumbprint Cookies
- Vegan Snowball Cookies
- Dairy Free Chocolate Peppermint Cookies
- Dairy Free Macaroons
Did you make this recipe? Rate and review it down below! I’d love to hear from you.
Dairy Free Sugar Cookies
Say hello to the best cut out dairy free sugar cookies! With lightly crisp edges and soft centers, these dreamy cookies are perfect for decorating. Easy to make and wonderfully classic, they hold their shape beautifully while baking.
Ingredients
For the cookies:
- 1 cup (2 sticks) dairy free butter, room temperature
- 1 cup confectioners’ sugar
- 1 large egg
- 2 teaspoons vanilla extract
- ½ teaspoon almond extract (optional but SO good)
- 2 ½ cups all-purpose flour
- ½ teaspoon fine sea salt
For the icing:*
- 2 cups confectioners’ sugar
- 2 to 4 tablespoons water
- ½ teaspoon vanilla extract (optional)
- ⅛ teaspoon almond extract (optional)
- food coloring and sprinkles (optional)
Instructions
For the cookies:
- To the bowl of a stand mixer fitted with the paddle attachment, add the butter and confectioners’ sugar. Beat on medium high for about 1 to 2 minutes, until smooth and creamy, stopping to scrape down the sides of the bowl if needed.
- Add in the egg, vanilla extract and almond extract (if using), then beat again until incorporated (don’t worry if it looks a little curdled). Add in the flour and salt, then mix on low until combined - the dough will be soft.
- Using a spatula, scrape / dump the dough onto a piece of plastic wrap. With well floured hands, form into a ball and then gently press into a disc about 6 inches wide. Wrap tightly, then chill the dough in the refrigerator for at least 2 hours.
- Preheat the oven to 375ºF. Line a baking sheet with parchment paper and set aside.
- On a well-floured surface, roll out the dough to ¼ inch in thickness. Cut out the dough with cookie cutters and place on the prepared baking sheet about 1 to 1 ½ inches apart (they won’t spread much during baking). Repeat with all the dough scraps.
- Bake for about 9 to 11 minutes, rotating the pan halfway through, until the edges are completely set and ever so lightly browned.
- Let the cookies cool on the baking sheet for 5 minutes, then remove to a wire rack to cool completely before frosting.
For the icing:
- In a small bowl, whisk together the confectioners’ sugar, 2 tablespoons of the water, the vanilla extract and almond extract until smooth. Add additional water to thin out the icing or add extra confectioners’ sugar to thicken it up (if you want to pipe on the icing make it thicker versus thinner if you want more of a glaze - adjust to you).
- Add food coloring to the icing if using, then decorate the cookies as desired.
- Enjoy the cookies right away or let them sit for about 24 hours for the icing to set and harden up (no need to cover them during this time).
Notes
Yield will vary depending on the size of your cookie cutters.
*Looking for a buttercream frosting for decorating? Try this dairy free spiced buttercream frosting or this dairy free chocolate buttercream frosting instead of the icing!
Nutrition Information:
Yield: 22 Serving Size: 1Amount Per Serving: Calories: 188Total Fat: 9gSaturated Fat: 5gTrans Fat: 0gUnsaturated Fat: 3gCholesterol: 31mgSodium: 118mgCarbohydrates: 26gFiber: 0gSugar: 15gProtein: 2g
Nutrition data shown is an estimate provided by an online calculator and is for informational purposes only. It should not be considered a substitute for a medical professional’s advice.

Just made these for an order where they requested a half dozen dairy and nutfree cookies. I tried using my usual sugar cookie recipe and swapping the butter for margarine but it went horribly so i tried this one!
They didnt come out very flat on the top so im a little worried about decorating them, but they taste pretty good. There is a possibility that my muscle memory accidentally put baking powder into the mix but i cant for the life of me remember. They rose a bit though so im guessing I did. Woops! That made them fairly cakey in texture but im relieved that they are soft bite rather than the typical crunchy cookie ive seen in other recipes. It will do (:
Theyre missing an important ingredient without the almond oil so if anyone is reading this, definitely add the almond extract if you dont have any nut allergies like my client does. Its so worth it.
Thank you for sharing this recipe, I’m relieved to not have to make a 3rd batch of dough.
So glad it worked out for you Charlotte!
We live in Wyoming. Do I need to make any high altitude adjustments?
Hi Linda! Unfortunately I have zero experience with high altitude baking … sorry I can’t be of assistance!
I went dairy free for my nursing infant who had a severe milk protein allergy and it tasted amazing! It felt so good to finally have a treat that tasted the same, if not better than the real thing! I am able to now trial dairy in my diet, so I was wondering if I could still make this recipe with real butter down the road?
I’m so happy to hear you enjoyed them! Yes, you could absolutely use regular butter instead of the dairy free butter.
Can we use crisco butter flavored if unable to get dairy free butter?
Hey Kim! Hmmm that’s a good question. I think it may work okay here but I’m not 100% sure as I’ve never tried it myself. Please let me know how it goes if you give it a try.
For the dairy free butter, does it need to be a harder butter rather than a softer spread? I can’t wait to try this recipe, it looks so good!
Hey Moss! Yes, I’d stick with the dairy free butter sticks versus the kind in the tub. The recipe may work okay with the tub butter but I haven’t tried it that way myself and I don’t want you to waste ingredients!
I’m so glad I found this recipe! I was worried that they would spread too much but they didn’t at all. They’re perfectly sweet, light and airy! I used smart balance because it was the only option for dairy free butter at my local store. Also really glad that they actually made the amount you said they would – the dough goes a long way. Thank you!
So happy to hear this Danielle! Thank you so much for taking the time to let me know 🙂
Thank you so much for sharing this recipe! I plan to use it with my child who has dairy allergies.
Question: Does it make a difference if you use confectioners sugar (with cornstarch) verses powdered sugar (no cornstarch)?
Hey Amani! I’ve always used confectioners’ sugar (i.e. with added starch) but I don’t think it will make a huge difference here. Hope you guys enjoy!
I am accustomed to seeing baking powder in sugar cookie recipes. Is this omission on purpose?
Hey Melissa! Yes, it’s on purpose – it helps the cookies keep their shape in this recipe 🙂
I don’t have a stand mixer, will they still work if I use a whisk or just a spoon?
Since you need to cream the dairy free butter and sugar I’d suggest at least using a hand mixer to do this! I’m not sure it will be the same if you just try to whisk it by hand…
Can you freeze this dough unbaked (raw) to bake a few weeks later? I’m doing cookie day and I have someone who can’t eat dairy…
Hey Clare! Yes, that should work just fine. Just make sure you wrap the disc of dough well before storing in the freezer (and then thaw in the fridge when ready to use). Enjoy!
I’ve been making cut out sugar cookies for years, and this was my first time using a dairy-free recipe and you really could not tell the difference! The flavor and texture were almost identical, and this had zero spread so it is ideal for decorating. This one REALLY impressed me since I’ve always thought that using high-quality real butter was key for baking. I couldn’t find Country Crock so I used Miyokos brand for butter and it came out amazing! Loving all these recipes for 12 days of dairy free Christmas!
This totally made my day Nathalie! I love Miyoko’s butter but haven’t really used it much for baking so that’s great to know it works well here 🙂