3 Ingredient Dairy Free Fudge
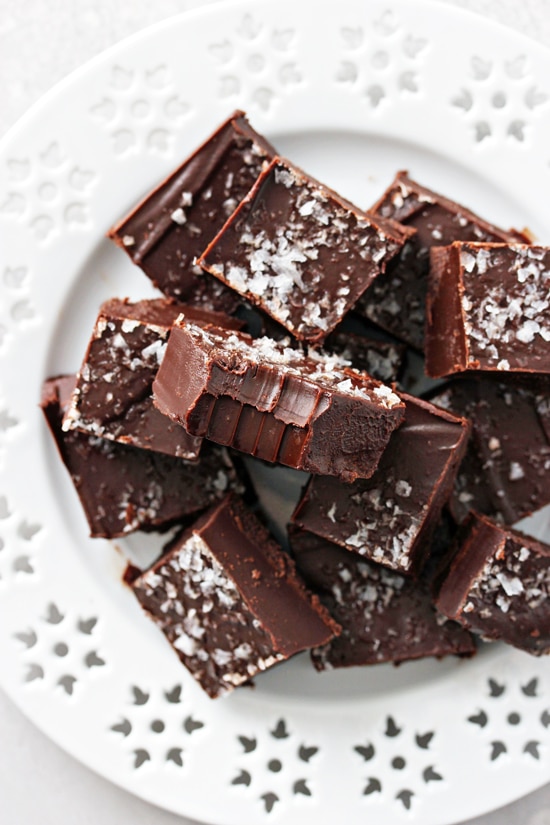
Just 10 minutes and 3 ingredients to this super easy dairy free fudge! Rich, creamy and perfectly decadent, it’s fantastic for the holidays or anytime you’re craving a sweet treat. Made in the microwave with no candy thermometer, it has that perfect melt-in-your-mouth texture. Gluten free, soy free and vegan.
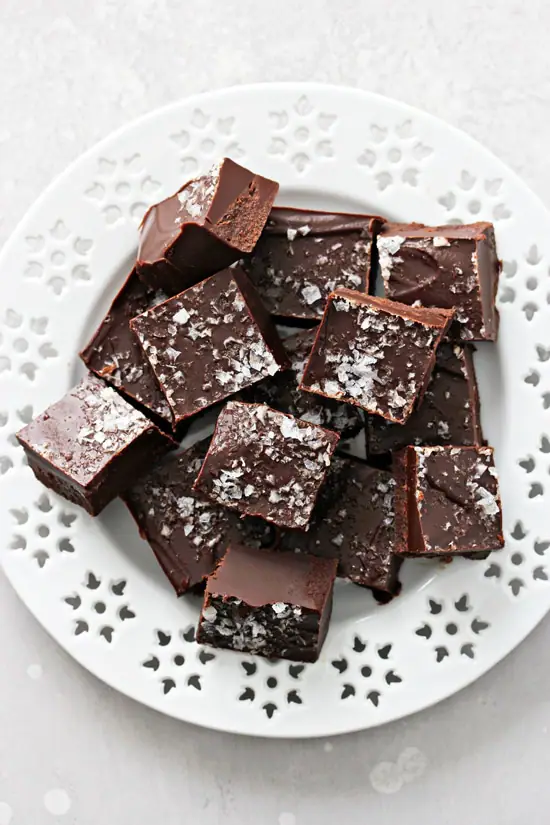
Fudge. It’s pretty darn irresistible, am I right or am I right?
I mean, between that smooth and creamy texture and the rich, chocolate-y flavor, it’s hard to go wrong.
Now, I know some people can be intimidated by making fudge, but it really doesn’t have to be that difficult.
ESPECIALLY when you go the shortcut route and use condensed milk (or in our case sweetened condensed coconut milk) to keep things nice and easy.
And that’s exactly what we’re doing here today with this dreamy 3 ingredient dairy free fudge.
The perfect homemade treat that’s quick, convenient and made entirely in the microwave with no candy thermometer involved.
And with a luscious vanilla-infused chocolate base and a sprinkle of sea salt to finish things off, it’s most definitely perfect for the Christmas season.
Or, um, let’s be real. Anytime season. Fudge knows no bounds!
How To Make Dairy Free Fudge
So, let’s talk about how this simple treat goes down:
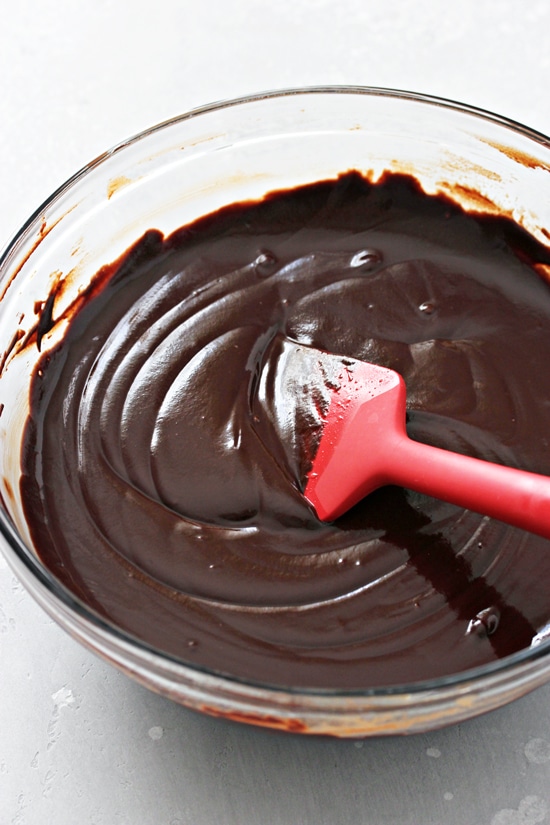
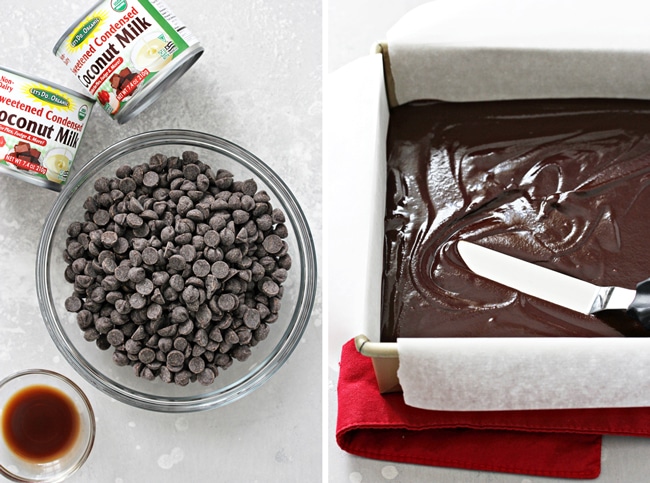
Melt chocolate. First up, we’ll microwave some chocolate chips and sweetened condensed coconut milk until smooth, before stirring in a touch of vanilla extract.
Spread in a baking dish. We’ll pour the mixture in a baking dish, spread evenly and then sprinkle with some flaky sea salt (if desired).
Refrigerate until set. Finally, we’ll pop the fudge in the fridge to chill for about 2 hours, or until nice and firm.
And that’s it. Easy peasy.
Tips & Tricks
- While I suggest measuring the chocolate chips by weight (as this is the most accurate method), about 2 ½ cups will give you the 15 ounces.
- Now, when you’re melting the chocolate chips and condensed coconut milk, you want to stop heating when the chocolate chips are almost completely melted but not quite. Keep stirring and let the residual heat melt them the rest of the way – this will ensure you don’t burn the chocolate.
- If you use semi-sweet chocolate chips, the fudge will be a tad sweeter and ever so slightly softer in consistency (compared to using dark chocolate chips). Personally, I’m team dark chocolate but it’s delicious either way!
How To Store
Counter: The fudge will keep for about 5 to 7 days at room temperature – layer with parchment paper in an airtight container. It will be softer in consistency if you go this route.
Fridge: Alternatively, you can store the fudge in the fridge for about 2 to 3 weeks – also layered in an airtight container with parchment paper. It will be slightly harder in consistency (but not at all too hard!). This is my personal preference.
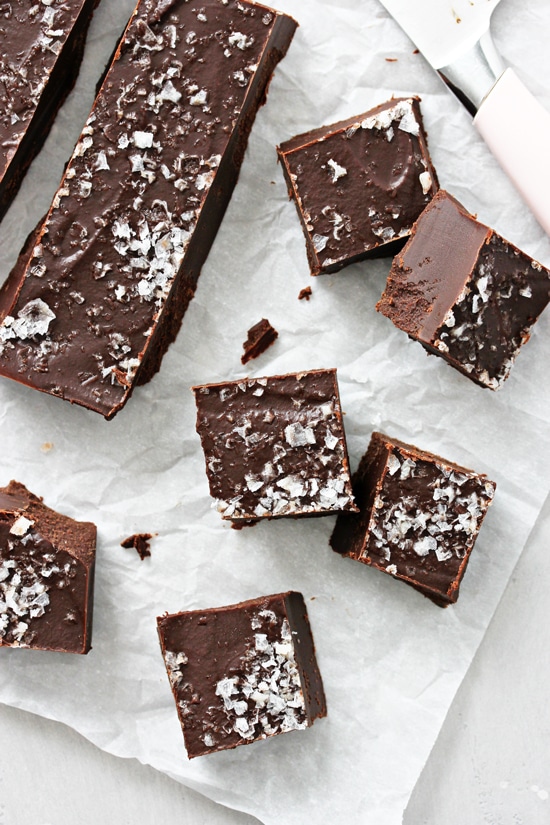
Freezer: And finally, you can also freeze the fudge for up to 3 months. You can either wrap the entire block of fudge really well OR cut it into squares and store layered in a container with parchment. Thaw the fudge in the fridge when ready to enjoy.
Additional Dairy Free Dessert Recipes:
- Dairy Free Truffles
- Dairy Free Caramel Sauce
- Dark Chocolate Fruit & Nut Clusters
- Peanut Butter Pretzel Honey Balls
- Dairy Free Rice Krispie Treats
- Vegan Snowball Cookies
- Mint Chocolate Chip Cookies
Did you make this recipe? Rate and review it down below! I’d love to hear from you.
3 Ingredient Dairy Free Fudge
Just 10 minutes and 3 ingredients to this super easy dairy free fudge! Rich, creamy and perfectly decadent, it’s fantastic for the holidays or anytime you’re craving a sweet treat. Made in the microwave with no candy thermometer.
Ingredients
- 15 ounces dairy free semi-sweet or dark chocolate chips
- 2 (7.4 ounce) cans sweetened condensed coconut milk
- 1 ½ teaspoons vanilla extract
- flaky sea salt, for sprinkling (optional)
Instructions
- Line an 8×8 inch baking dish with parchment paper, cutting big enough pieces so that the paper hangs over the edges of the pan on all four sides (i.e. making a sort of sling). Set aside.
- Add the chocolate chips and sweetened condensed coconut milk to a large microwave safe bowl. Microwave in 30 second intervals, stirring after each, until the mixture is smooth and combined (alternatively, you can use a double boiler).
- Stir in the vanilla extract, then pour the mixture into the prepared baking dish and spread evenly. Sprinkle with some flaky sea salt, if using.
- Place the pan in the refrigerator and allow to chill for at least 2 hours, or until completely set.
- Once set, use the parchment overhang to help lift the fudge out of the pan (I use a knife to loosen the corners as needed). Cut into squares with a sharp knife. If the fudge is too hard to slice cleanly, let it sit on the counter for a bit to soften slightly then try again.
Notes
To keep the fudge soy free - be sure to use appropriate chocolate chips (we like Enjoy Life brand).
Nutrition Information:
Yield: 36 Serving Size: 1Amount Per Serving: Calories: 87Total Fat: 6gSaturated Fat: 4gTrans Fat: 0gUnsaturated Fat: 1gCholesterol: 1mgSodium: 4mgCarbohydrates: 8gFiber: 1gSugar: 6gProtein: 1g
Nutrition data shown is an estimate provided by an online calculator and is for informational purposes only. It should not be considered a substitute for a medical professional’s advice.


I used chopped pecans in mine. Everybody loved the fudge and swore it couldn’t be dairy free. Delicious! Thank you for sharing.
I’m so happy to hear this! I really appreciate you taking the time to let me know!
Hi Ashley,
Its really difficult to find dairy and soy free chocolate drops/buttons in the uk,,, would it work with cacao powder instead? If so, how many grams or ounces would that need to be, please?
Many thanks,
Aj 🙂
Hey Aj! Unfortunately the fudge definitely won’t work the same with cacoa powder – I’m sorry! The chocolate is really necessary to help the fudge firm up.
Can u do this in a slow cooker ?
Hey Jasmine – I’m not sure which part you would want to do in a slow cooker? The chocolate mixture melts very quickly in the microwave (or using a double boiler). I would recommend sticking with those options.
Hubby is allergic to coconut, so I made a cashew crema by soaking 1 cup of cashews in water to cover for an hour, whirring the nuts and soaking water with 1 cup of sugar, in the high speed blender for two minutes, and then proceeding as directed. It came out great.After looking at the other comments, I wish I had added marshmallows– I did add walnuts, Hubby’s fave addition to chocolate.
So happy to hear this Marina! And thanks for sharing your changes – that’s great to know! 🙂
Would it work if I added things like marshmallows? or nuts? When would one add these things?
Hey Nicole! Yes absolutely. To do this – stir in the vanilla as directed and make sure everything is nice and combined … and then fold in whatever add-ins you’d like to use before transferring to the baking dish. If you’re using marshmallows, don’t over-stir otherwise they tend to melt! Hope you enjoy 🙂
These look scrumptious but I don’t own a microwave!
Is there a stove-top alternative?
Thanks Greta! Absolutely – you can melt the chocolate chips and condensed coconut milk with a double boiler on the stovetop – it will work just the same 🙂
Wow! These only required 3 ingredients, were incredibly easy to make, and turned out amazing! These need to be in your holiday dessert rotation immediately. My family loved how creamy the fridge turned out – and had no idea it was allergen friendly – double win! #12daysofdairyfreechristmas
So so happy to hear this Jen! 🙂
wow I want some too! These look really good and I love the fact that they just require 3 ingredients. Awesome!
You can’t go wrong with a small ingredient list!