Restaurant-Style Hummus
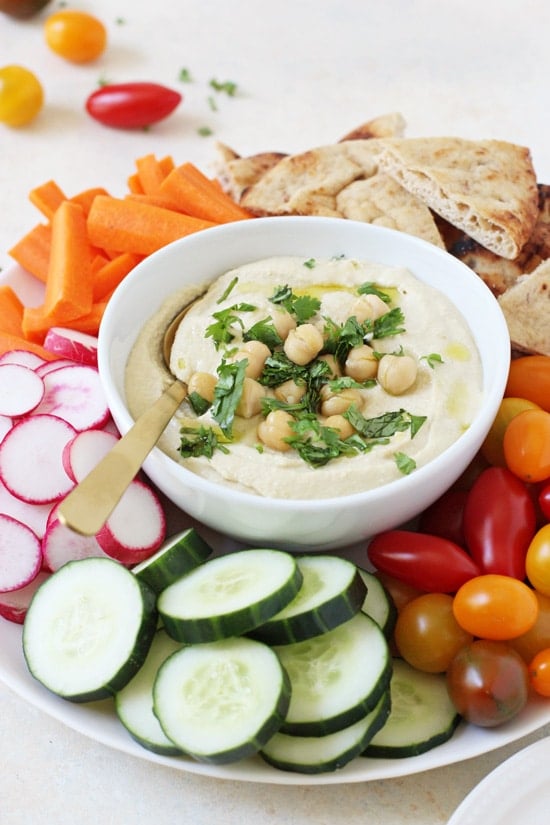
This dreamy restaurant-style hummus is perfectly smooth and creamy! Incredibly easy to make, it’s perfect for snacking or parties. And there’s no peeling of the chickpeas required. Serve with your favorite veggies, chips or bread. Dairy free, gluten free and vegan.
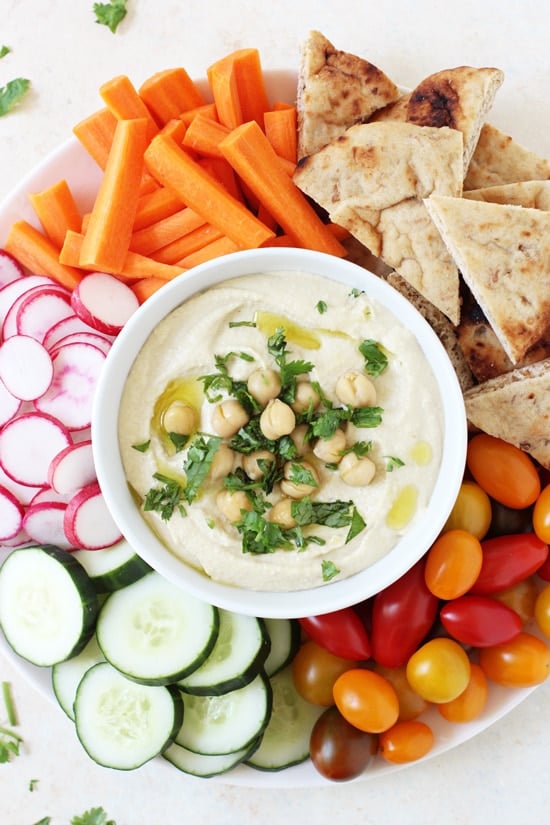
This restaurant-style hummus was originally published in August 2012. The post has been updated as of September 14, 2017 with new photos, text and improved recipe instructions.
Let’s chat about a deliciously basic snack. That is so smooth and so creamy that the entire batch will disappear in no time flat.
Now, I’ll be the first to admit that I love different flavored hummus. BUT. Sometimes you just want plain, know what I mean?
And this recipe, my friends, is it. My basic go-to plain hummus that is SO SMOOTH, SO LIGHT, SO FLUFFY.
But wait, it gets even better. There’s no peeling of the chickpea skins required.
I know that so many people swear by this trick for getting the smoothest hummus around, but I just have zero patience for this task.
So the fact that the method used in today’s recipe results in super smooth and creamy hummus without having to peel is a major win. Well, at least for me.
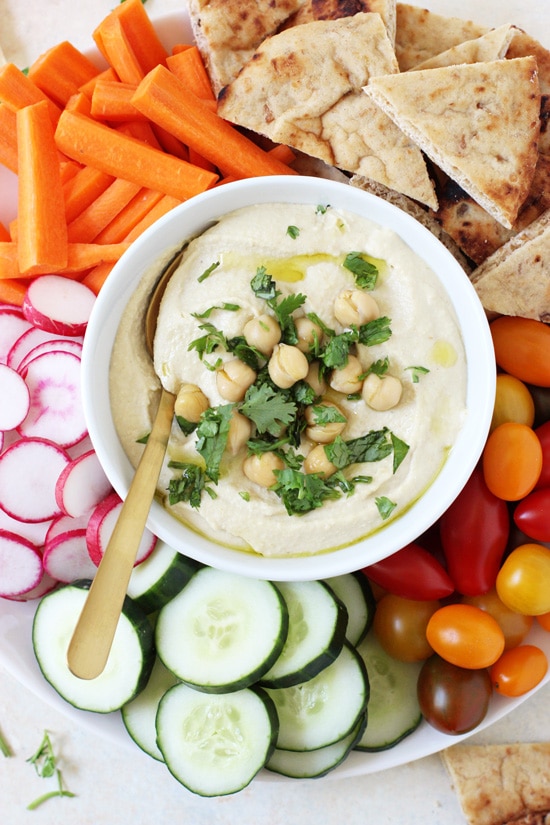
And with football back in town (i.e. it’s the start of appetizer season!), I think it’s high time for you to get your hummus on. With crunchy veggies and warm naan for dipping. Simple, healthy and oh so very tasty.
Tips & Tricks For This Restaurant-Style Hummus
- I feel silly even saying this, but please be sure to follow the steps as written. It will likely seem a tad bit different than normal if you make a lot of hummus at home, but the method is really what makes this so smooth and fluffy. So just do it, okay?
- For the fresh lemon juice, I find I need about 1 ½ to 2 medium lemons to get the required 3 tablespoons. But this will depend on the juiciness of your lemons (the ones by us have been so meh lately).
- Please note that the recipe calls for coarse salt. If you don’t have any on hand, you can use regular / fine sea salt instead but be sure to start with a lower amount. And then add more to your taste.
- As with all hummus, feel free to tinker with the spices and seasonings as desired.
- This isn’t really a tip, but I LOVE to make this hummus for entertaining … and then serve with tons of different options for dipping (so fun!). The whole thing can be made in advance AND it is so friendly to different diets. Always a plus.
Additional Hummus Recipes You Might Enjoy:
- Spinach Artichoke Hummus
- Brownie Batter Hummus
- Peanut Butter Cookie Dough Dessert Hummus
- Sweet Potato Hummus
- Mango Chipotle Hummus
Did you make this recipe? Rate and review it down below! I’d love to hear from you.
Restaurant-Style Hummus
This dreamy restaurant-style hummus is perfectly smooth and creamy! Incredibly easy to make, it’s perfect for snacking or parties. And there’s no peeling of the chickpeas required. Serve with your favorite veggies, chips or bread.
Ingredients
- 3 tablespoons freshly squeezed lemon juice
- ¼ cup water
- 6 tablespoons tahini
- 2 tablespoons olive oil
- 1 (15-ounce) can chickpeas, drained and rinsed
- 3 cloves garlic
- ½ teaspoon coarse salt
- ¼ teaspoon ground cumin
- dash of cayenne pepper
- chopped fresh cilantro, for garnish
- additional olive oil, for garnish
Instructions
- In a small bowl, whisk together the lemon juice and water. In another small bowl, whisk together the tahini and olive oil until smooth.
- Set aside a small handful of the chickpeas for garnish, then add the remaining chickpeas, the garlic, salt, cumin and cayenne to the bowl of a food processor. Process for about 15 to 20 seconds, until finely ground. Scrape down the sides of the bowl.
- With the food processor running, slowly pour in the lemon water mixture. Process for 1 minute, then stop and scrape down the sides of the bowl.
- Turn the food processor back on and slowly pour in the tahini olive oil mixture. Process for 1 additional minute, until the mixture is smooth and creamy.
- Transfer the hummus to an airtight container and allow to chill in the refrigerator for at least 1 hour to allow the flavors to meld.
- When ready to enjoy, top with the reserved chickpeas, the cilantro and a drizzle of olive oil! Serve with chips, naan, veggies, whatever you like!
Notes
Adapted from The Brewer & The Baker
Nutrition Information:
Yield: 10 Serving Size: 1Amount Per Serving: Calories: 126Total Fat: 8gSaturated Fat: 1gTrans Fat: 0gUnsaturated Fat: 7gCholesterol: 0mgSodium: 231mgCarbohydrates: 10gFiber: 3gSugar: 1gProtein: 4g
Nutrition data shown is an estimate provided by an online calculator and is for informational purposes only. It should not be considered a substitute for a medical professional’s advice.



loving all that garlic! hummus is one of my favorite things on earth. thanks for sharing!
xo
http://allykayler.blogspot.ca/
Thanks Ally : )