Dairy Free Rice Krispie Treats
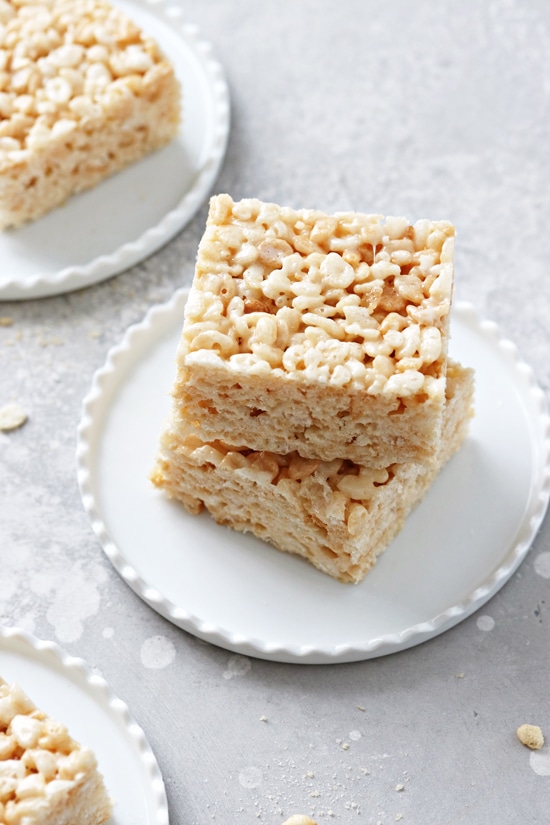
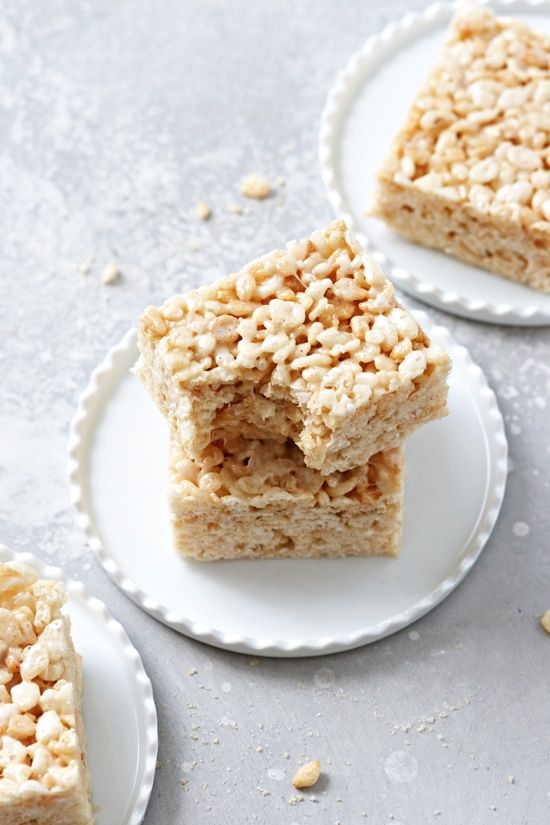
Whip up a batch of these delicious dairy free rice krispie treats for a quick and easy dessert or snack! Soft, thick and perfectly chewy, this no bake goodness is perfect for both kiddos and adults alike. Wonderfully classic without the butter (thanks to some coconut oil!), this simple treat is also gluten free.
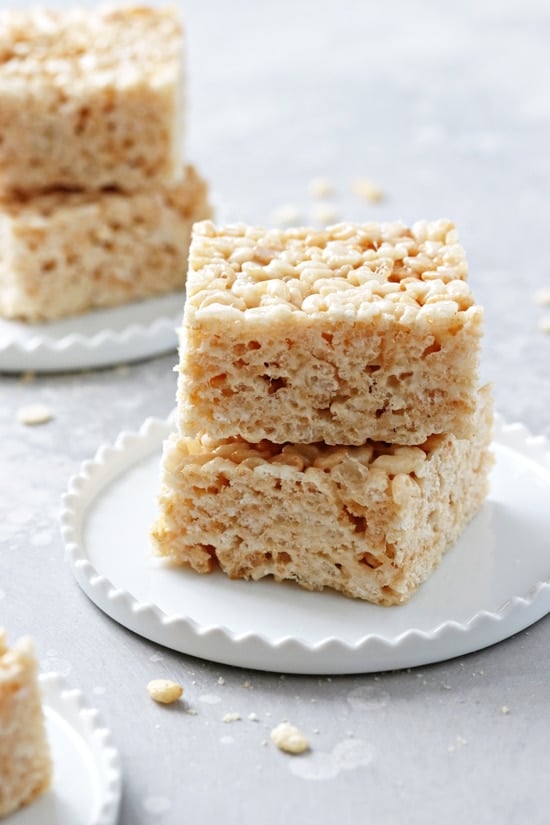
Rice krispie treats. They’re such a nostalgic, classic dessert. Am I right or am I right?
Growing up we had them around ALL the time. Aaaand then I kind of forgot about them over the years.
But, we’re fixing that today with this dreamy dairy free version.
Soft, thick and perfectly chewy, you absolutely will not miss the dairy thanks to a secret ingredient – coconut oil!
Which adds that delicious buttery flavor without the actual butter.
{Side note – you can absolutely use dairy free butter as well. Dealer’s choice).
ANYWAY. This gooey, crowd-pleasing treat is fantastic for the holidays, parties or any day of the week.
Just a big ol’ pot and about 15 minutes of your time required. ← Yup, there’s a reason this retro dessert is so dang popular!
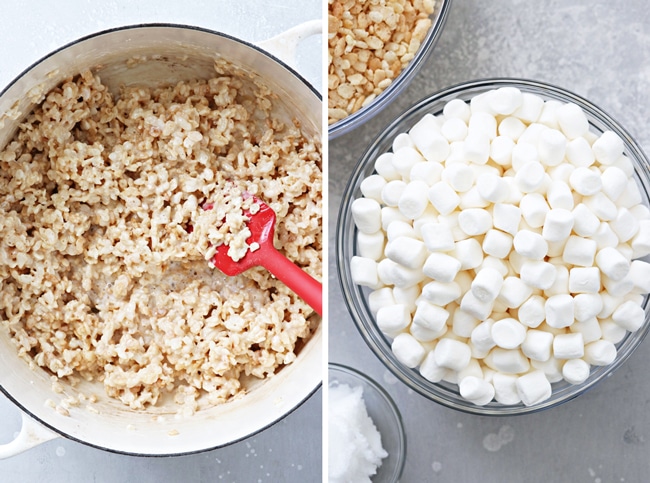
How To Make
So, let’s talk about how these dairy free rice krispie treats go down:
Melt coconut oil. First up, we’ll heat some solid state coconut oil in a large stockpot until nice and liquidy.
Add marshmallows. Next, we’ll add in plenty of marshmallows, along with some vanilla and almond extract, and heat until completely melted and smooth.
Fold in rice cereal. We’ll stir in a good amount of rice cereal, making sure it’s all coated with some of that marshmallow-y goodness.
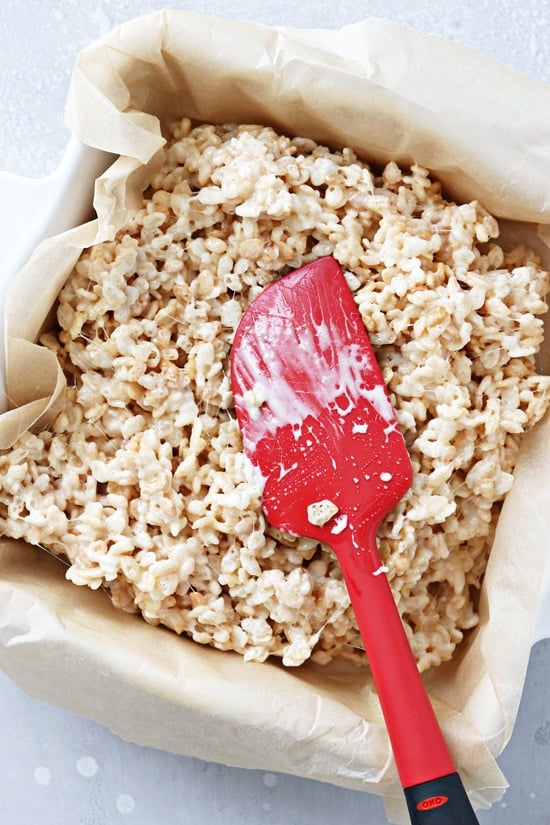
Spread in a baking dish. Finally, we’ll GENTLY press the mixture into a greased baking dish and then let sit about 1 to 2 hours, or until set.
Tips & Tricks
- You can absolutely use dairy free butter in place of the coconut oil.
- Be sure to use fresh marshmallows – i.e. not ones that have been sitting in the back of your pantry forever. It really does make a difference.
- While the almond extract is completely optional, I find it gives the rice krispies that bakery fresh flavor. So I highly suggest using it if you can.
- Regular rice cereal or brown rice cereal both work. I’ve found that brown rice cereal has a sort of thicker and bigger texture than the classic kind, but it’s delicious either way.
- This recipe can easily be doubled to fit in a 9×13 inch baking dish.
- And finally, let’s talk about vegan marshmallows. I tested these once with a popular vegan marshmallow brand and had major issues. They never melted completely and congealed into a strange hard blob no matter how long I tried heating them or stirring with a ridiculous amount of arm power. Maybe it was a bad bag (?) but it definitely did not work for me so I can’t recommend it.
How To Store
The rice krispies will keep for up to 3 days in an airtight container at room temperature (layered with parchment paper).
I don’t recommend freezing them as the texture / consistency won’t be quite the same after thawing.
Additional Dairy Free Treats:
- Dairy Free Fudgy Brownies
- Dairy Free Blondies
- Flourless Peanut Butter S’mores Cookies
- Dairy Free S’mores Cookie Bars
- 3 Ingredient Dairy Free Fudge
- Dairy Free Truffles
- Dairy Free Fruit Dip
Did you make this recipe? Rate and review it down below! I’d love to hear from you.
Dairy Free Rice Krispie Treats
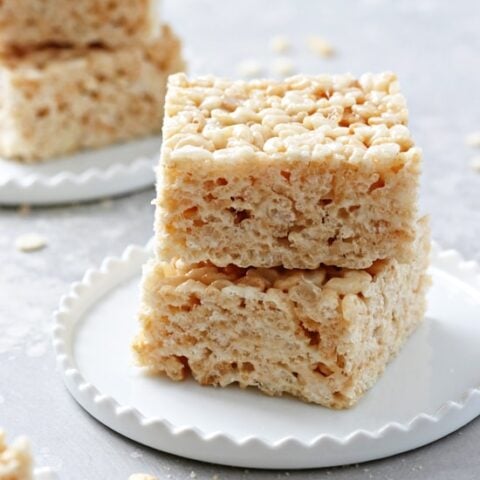
Whip up a batch of these delicious dairy free rice krispie treats for an easy dessert or snack! Soft, thick and perfectly chewy, this no bake goodness is perfect for both kiddos and adults alike. Wonderfully classic without any butter involved, they're also gluten free.
Ingredients
- ⅓ cup solid state coconut oil
- 1 (10 ounce) bag mini marshmallows
- ½ teaspoon vanilla extract
- ¼ teaspoon almond extract (optional)
- good pinch of fine sea salt
- 4 ½ cups crispy rice cereal
Instructions
- Line an 8x8 inch baking dish with parchment paper, then grease lightly with nonstick or olive oil spray. Set aside.
- Add the coconut oil to a large stockpot set over medium heat. Once melted, add in the marshmallows, vanilla extract, almond extract and salt. Stir frequently until the marshmallows are completely melted and smooth.
- Remove from the heat then immediately stir in the crispy rice cereal, working quickly to ensure that all the cereal is coated with some of the marshmallow mixture.
- Transfer the mixture to the prepared pan. Using a greased spatula or wax paper, gently press the mixture into the pan in an even layer (be sure to just softly press into the pan - if you try to really pack it in, the bars will be hard after setting).
- Let the treats cool for about 1 to 2 hours, then lift out of the pan using the parchment. Slice into squares and serve.
Notes
Be sure to check both your marshmallows and cereal to make sure they’re dairy free (and gluten free if needed for your diet).
Nutrition Information:
Yield: 16 Serving Size: 1Amount Per Serving: Calories: 127Total Fat: 5gSaturated Fat: 4gTrans Fat: 0gUnsaturated Fat: 0gCholesterol: 0mgSodium: 64mgCarbohydrates: 21gFiber: 0gSugar: 11gProtein: 1g
Nutrition data shown is an estimate provided by an online calculator and is for informational purposes only. It should not be considered a substitute for a medical professional’s advice.



Hi is this using unrefined or refined coconut oil?
Hey Anna! I use unrefined since that’s what I usually have in the house but either will work.
These were amazing! I’m gluten- and dairy-free and so used to coconut a sub that it doesn’t seem strong to me, but hubby said he could pick it out. He still enjoyed them though and it didn’t keep him from sneaking a second bar. 🥰Definitely making again and again!
So happy to hear this Michelle! Thank you so much for taking the time to let me know 🙂
Please advise if I can use coconut liquid instead of solid coconut ?? Awaiting your reply!
Thanking you,
Taubie
Hmm I’m not sure that will work the same here (since the liquid version will never solidify). I’d probably stick with regular coconut oil (or even dairy free butter)!
12 Days of Dairy Free Christmas introduced me to this recipe and I’m so thankful! These are so delicious and my husband loves them even more than the original rice crispy treats recipe. I love using different cereals to switch it up, too. I’ll for sure make this again 🙂
Yes!! So happy to hear this Nicole! I need to try them now with different cereals – I don’t know why I never thought to do that!
Super simple but so grateful for this! My daughter has a dairy allergy and she was able to enjoy Rice Krispie treats for the first time ever! And they taste the same if not better than the original! #12daysofdairyfreechristmas
This completely makes my day 🙂 So so happy to hear it!
A great afternoon snack!