Dairy Free S’mores Cookie Bars
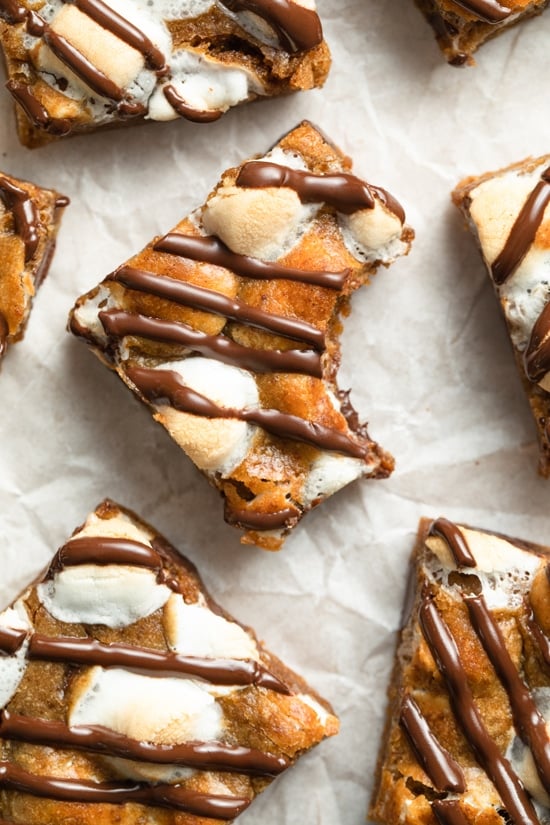
Soft, chewy and perfectly gooey, these easy dairy free s’mores cookie bars will be a hit with both kids and adults alike! Filled with warm vanilla flavor, plenty of chocolate and pockets of mini marshmallows, they’re a fun take on the classic treat. No campfire needed!
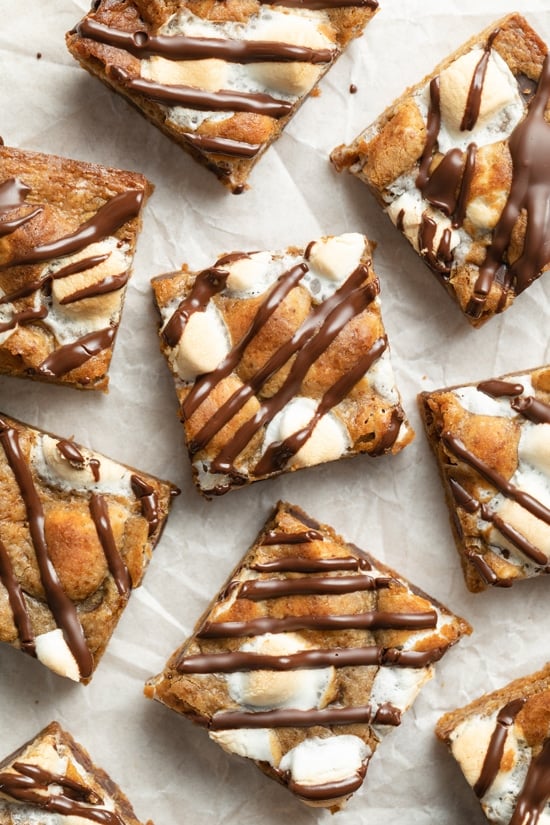
Love s’mores but need something a bit more travel friendly and easy to eat?
Well look no further than these dreamy dairy free s’mores cookie bars!
A delightful mash-up of the classic summer treat and chewy blondies, these delicious bars are absolutely perfect for summer entertaining.
Soft, thick and filled with gooey marshmallows plus PLENTY of chocolate, they also couldn’t be easier to make (with no mixer needed!).
And would 100% be a fun baking project for warmer weather … or, let’s be honest, anytime of the year.
How To Make
So, let’s talk about how this simple dessert goes down:
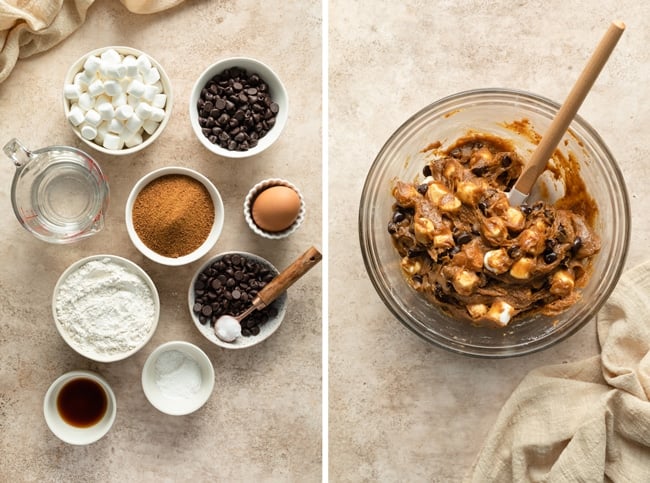
Whisk the dry ingredients. First up, we’ll combine some flour, baking powder and salt in a small bowl.
Combine the wet. In another bowl, we’ll whisk together some sugar, coconut oil, an egg and vanilla until smooth.
Mix em’ together. We’ll fold the two together before stirring in plenty of dairy free chocolate chips and mini marshmallows.
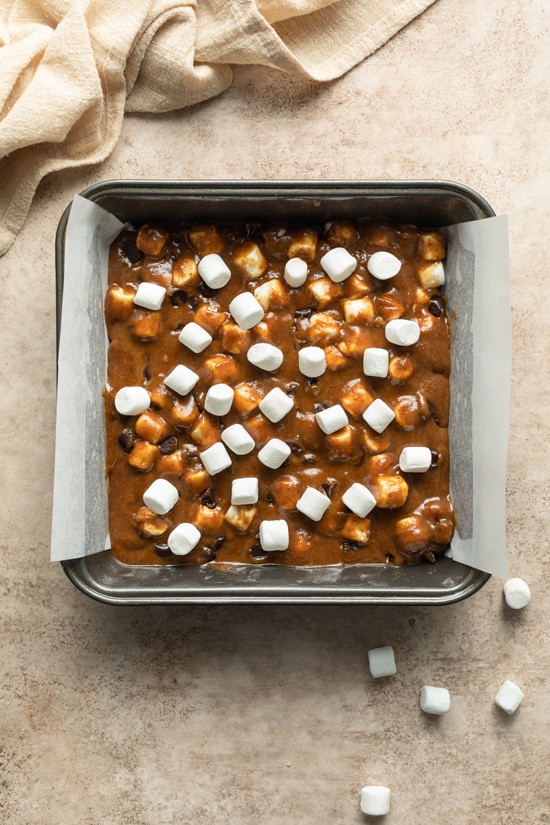
Spread and bake. Next, we’ll transfer the mixture to a baking dish, sprinkle with even more marshmallows and then pop in the oven until golden and gooey.
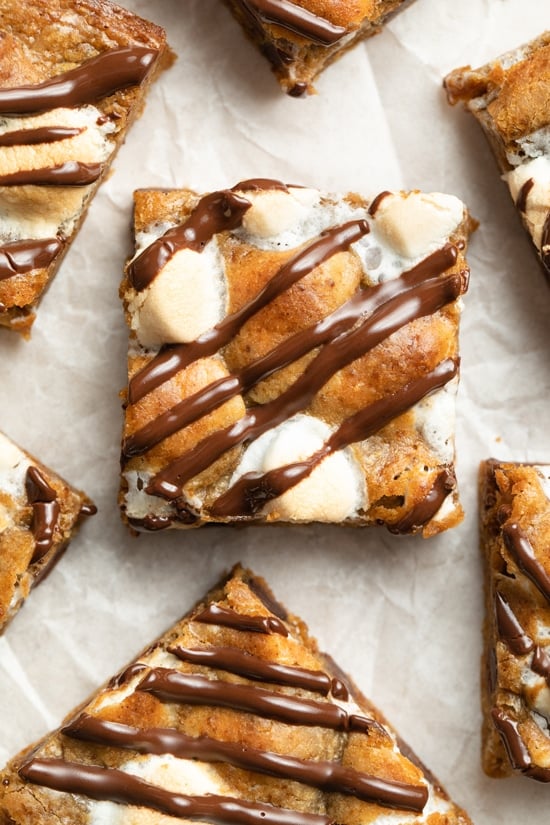
Add topping. Once cooled, we’ll drizzle the tops of the bars with a touch of extra melted chocolate and then let stand until set.
Tips & Tricks
- When measuring out your flour, fluff in the container then scoop into your measuring cup with a spoon and level off. Don’t dunk the cup straight into the bag as you’ll likely use too much.
- I personally use unrefined virgin coconut oil in these bars and don’t think you can taste coconut in the final product. But if this is something that concerns you, use refined coconut oil instead (which is more neutral in flavor).
- You may be able to use a different type of oil, however this is not something I’ve tested myself.
- When melting the chocolate for the topping – stop heating when a few small chips remain and then stir until smooth (letting the residual heat take care of the rest). This will help prevent the chocolate from burning.
- Along those lines, I’d encourage you to use the touch of coconut oil in the chocolate topping. It helps make the chocolate much easier to drizzle and keeps it a bit softer once set.
How To Store
Counter: The bars will keep for about 4 to 5 days in an airtight container (layered with parchment paper) at room temperature.
Freezer: They’ll also keep in an airtight container in the freezer for up to 3 months. Thaw overnight in the fridge and then bring to room temperature before enjoying.
Additional Dairy Free Dessert Recipes:
- Dairy Free Blondies
- Dairy Free Rice Krispie Treats
- Flourless Peanut Butter S’mores Cookies
- Dairy Free Fudgy Brownies
- Dark Chocolate Avocado Brownies
- Dairy Free Chocolate Cookies
Did you make this recipe? Rate and review it down below! I’d love to hear from you.
Dairy Free S’mores Cookie Bars
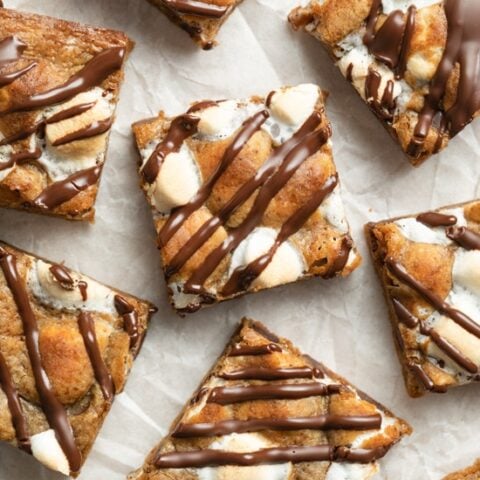
Soft, chewy and perfectly gooey, these easy dairy free s’mores cookie bars will be a hit with both kids and adults alike! Filled with warm vanilla flavor, plenty of chocolate and pockets of mini marshmallows, they’re a fun take on the classic treat. No campfire needed!
Ingredients
For the bars:
- 1 cup all-purpose flour
- ½ teaspoon baking powder
- ¼ teaspoon fine sea salt
- ¾ cup coconut sugar (or lightly packed brown sugar)
- ½ cup melted coconut oil, cooled slightly*
- 1 large egg
- 1 teaspoon vanilla extract
- ½ cup dairy free chocolate chips
- 1 ⅓ cups mini marshmallows, divided
For the topping:
- ¼ cup dairy free chocolate chips
- ½ teaspoon solid-state coconut oil
Instructions
For the bars:
- Preheat the oven to 350ºF. Line an 8x8 inch baking dish with parchment paper, cutting a big enough piece so that the paper hangs over the edges of the pan on two sides. Spray lightly with olive oil or nonstick cooking spray and set aside.
- In a small bowl, whisk together the flour, baking powder and salt.
- In a large bowl, whisk together the sugar, coconut oil, egg and vanilla for 30 seconds, until well combined and smooth. Add in the flour mixture and mix until just combined (this will take some arm power), then gently fold in the chocolate chips and 1 cup of the marshmallows.
- Transfer the batter to the prepared baking dish and use your fingers or a spatula to spread in the pan. Sprinkle the remaining ⅓ cup marshmallows over the top.
- Bake for about 17 to 20 minutes, or until a toothpick inserted into the middle comes out clean or *mostly* clean (you don’t want to over bake these!). The edges should be lightly browned.
- Remove from the oven and set the pan on a wire rack to cool completely.
For the topping:
- Once cooled, add the chocolate chips and coconut oil to a microwave safe bowl. Microwave in 20 to 30 second intervals, stirring after each, until the chocolate is smooth (alternatively, you can use a double boiler).
- Drizzle the chocolate over the cooled bars, then let the pan sit at room temperature until set.
- Use the parchment overhang to lift the slab out of the pan (loosen with a butter knife around the edges if needed), then use a sharp knife to slice into squares to serve.
Notes
*Melt some coconut oil first and then measure out the correct amount. Additionally, be sure to let the coconut oil cool for about 5 minutes before using (otherwise you may scramble the egg).
Nutrition Information:
Yield: 16 Serving Size: 1Amount Per Serving: Calories: 182Total Fat: 10gSaturated Fat: 7gTrans Fat: 0gUnsaturated Fat: 2gCholesterol: 12mgSodium: 57mgCarbohydrates: 24gFiber: 1gSugar: 16gProtein: 2g
Nutrition data shown is an estimate provided by an online calculator and is for informational purposes only. It should not be considered a substitute for a medical professional’s advice.

Can these be frozen?
Hey Jordana – Yes, they’ll keep in an airtight container in the freezer for up to 3 months. Thaw overnight in the fridge and then bring to room temperature before enjoying.
We loved these! Stuck in pieces of graham cracker for extra ‘smores taste. So delicious.
Ooo love that idea! So glad you enjoyed – thank you for taking the time to let me know 🙂
These look divine! I’ll have to whip em up with some Dandie’s vegan marshmallows, which my toddler has been obsessed with as a treat after dinner!
Thanks Nicole! Hope you guys enjoy them as much as we do 🙂
If not dairy free, can you use butter instead of coconut oil?
Hey Steph – I haven’t tested it myself but I think that should be completely fine. Enjoy!
Love these cookie bars. Very creative dairy-free recipe. My kids will love the mini marshmallows touch. Will surprise them tomorrow. Thanks
Hope you enjoy!