Dairy Free Blondies
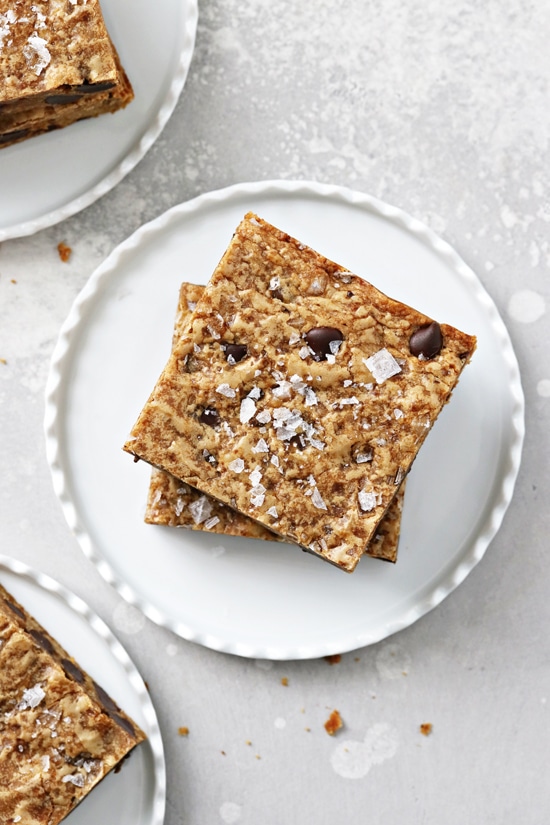
Rich, chewy and oh-so-flavorful, these irresistible dairy free blondies will be on repeat all year long! Soft and buttery (with no butter involved), these delicious bars are loaded with chocolate chips and couldn’t be easier to make. Wonderfully classic and packed with warm vanilla, caramel flavor, they’re also soy free.
Ready for the perfect easy treat?
Well then say hello to these delicious dairy free blondies!
Or otherwise known as the darling little sister of classic chocolate brownies.
Here’s why you’ll adore them:
- They’re thick, chewy and have that perfect sink-your-teeth-in texture.
- They’re filled with warm molasses-y, vanilla-y, caramel flavor.
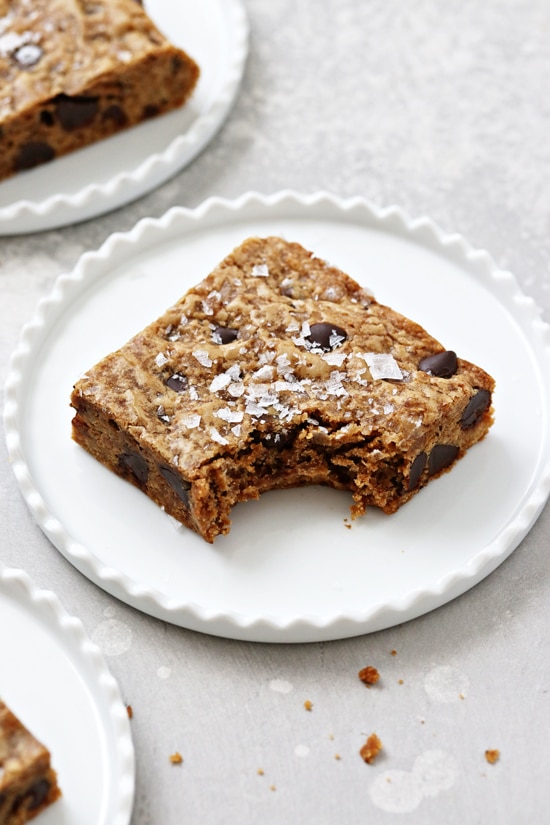
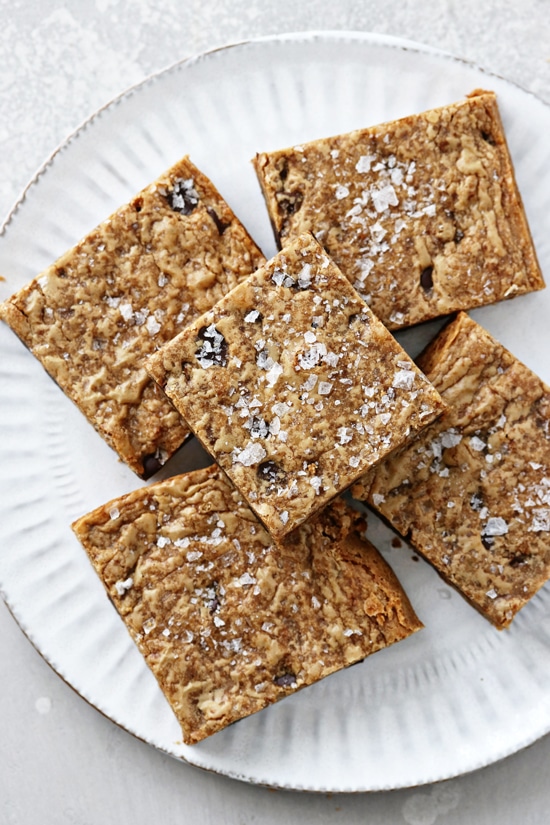
- And have an ever-so-slightly crackled top made even better with a sprinkle of flaky sea salt for finishing.
Not to mention that they are EASY. As in no mixer required, no fancy ingredients needed.
It’s dessert-time perfection.
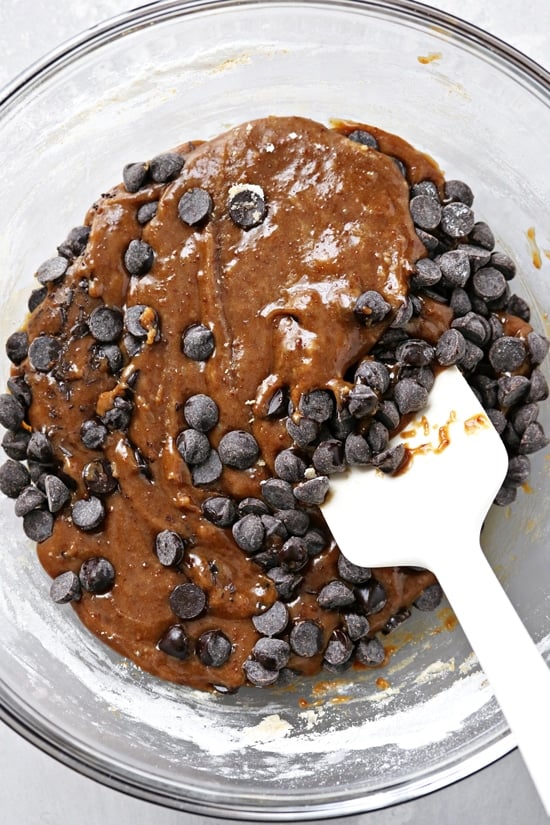
How To Make
So, let’s talk about how these easy bars go down:
Whisk the dry ingredients. First up, we’ll combine some flour, baking powder and salt in a small bowl.
Combine the wet. In another bowl, we’ll whisk together some sugar, coconut oil, an egg and vanilla until smooth.
Mix em’ together. We’ll fold the two together before stirring in plenty of chocolate chips.
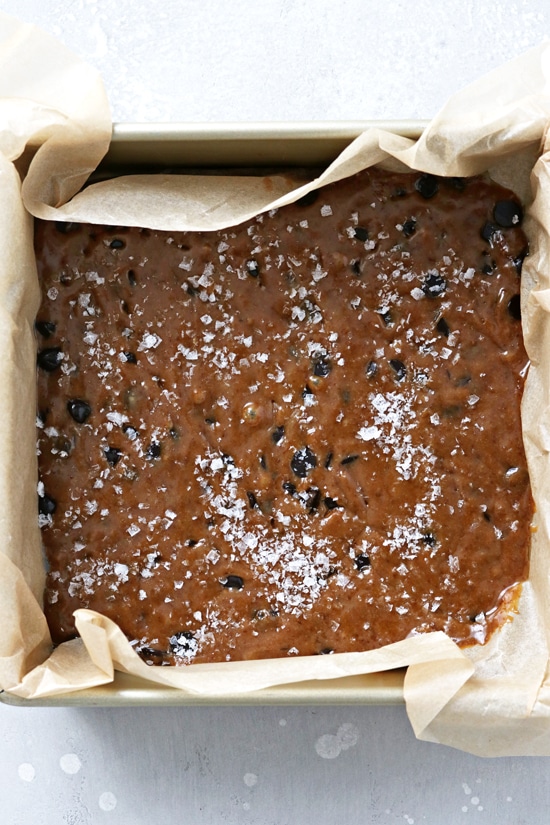
Spread and bake. Finally, we’ll transfer the mixture to a greased baking dish and then pop in the oven until *just* set.
The hardest part? Trying to exercise patience while they cool down!
Tips & Tricks
- First things first. When measuring out your flour, fluff in the container then scoop into your measuring cup with a spoon and level off. Don’t dunk the cup straight into the bag as you’ll likely use too much.
- I highly suggest sticking with the coconut sugar (or brown sugar) as it gives the blondies that distinct caramel flavor you know and love. Regular granulated sugar won’t have the same effect.
- Let’s talk about the coconut oil. I like to melt the oil first and let it cool for about 5 minutes while I take out all the other ingredients, measuring cups, etc. I find this is just the right amount of time for it to cool down a bit before using in the recipe.
- I personally use unrefined virgin coconut oil in these blondies and don’t think you can taste coconut in the final product. But, if this is something that concerns you, use refined coconut oil instead (which is more neutral in flavor).
- With that said, you should be able to use melted and cooled dairy free butter in place of the coconut oil if that’s more your jam (although I have not tested this myself).
- And finally, don’t over bake these blondies!! I highly suggest checking them at the 17 minute mark and then adding extra time from there as needed. {For reference, in my oven, I’ve never needed longer than 18 minutes.}
How To Store
Counter: Cooled blondies will keep for about 4 to 5 days in an airtight container at room temperature (I like to layer with parchment paper).
Fridge: Alternatively, you can store the blondies in an airtight container in the fridge for up to 1 week.
Freezer: They’ll also keep in an airtight container in the freezer for up to 3 months. I like to thaw overnight in the fridge and then bring to room temp before enjoying.
Additional Dairy Free Dessert Recipes:
- Dairy Free Fudgy Brownies
- Dairy Free S’mores Cookie Bars
- Dark Chocolate Avocado Brownies
- Coconut Oil Chocolate Chip Cookies
- Mint Chocolate Chip Cookies
- Dairy Free Rice Krispie Treats
Did you make this recipe? Rate and review it down below! I’d love to hear from you.
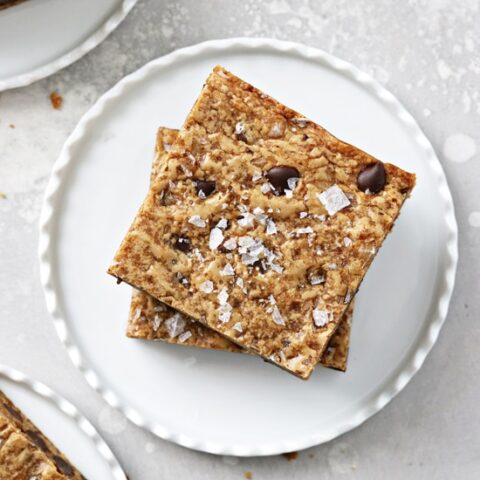
Dairy Free Blondies
Rich, chewy and oh-so-flavorful, these irresistible dairy free blondies will be on repeat all year long! Soft and buttery (with no butter involved), these delicious bars are loaded with chocolate chips and couldn’t be easier to make.
Ingredients
- 1 cup all-purpose flour
- ½ teaspoon baking powder
- ¼ teaspoon fine sea salt
- ¾ cup plus 2 tablespoons coconut sugar (or lightly packed brown sugar)
- ½ cup melted coconut oil, cooled slightly*
- 1 large egg
- 1 teaspoon vanilla extract
- ¾ cup dairy free chocolate chips
- flaky sea salt, for sprinkling (optional)
Instructions
- Preheat the oven to 350ºF. Line a 8x8 inch baking dish with parchment paper, cutting a big enough piece so that the paper hangs over the edges of the pan on two sides. Spray lightly with olive oil or nonstick cooking spray and set aside.
- In a small bowl, whisk together the flour, baking powder and salt.
- In a large bowl, whisk together the sugar and coconut oil (it may clump a bit but that’s okay - it will smooth out in the next step). Add in the egg and vanilla and whisk again until well combined.
- Add in the flour mixture and mix until just combined, then gently fold in the chocolate chips.
- Transfer the batter to the prepared baking dish and use your fingers or a spatula to spread evenly in the pan. Sprinkle the top with some flaky sea salt, if using (or sprinkle with some extra chocolate chips!).
- Bake for about 17 to 21 minutes, or until a toothpick inserted into the middle comes out clean or *mostly* clean (you don’t want to over bake these!). The edges should be lightly browned.
- Remove from the oven and set the pan on a wire rack to cool completely. Use the parchment overhang to help lift out of the pan, then slice into squares to serve.
Notes
*Melt the coconut oil first and then measure out the correct amount.
Nutrition Information:
Yield: 16 Serving Size: 1Amount Per Serving: Calories: 180Total Fat: 10gSaturated Fat: 7gTrans Fat: 0gUnsaturated Fat: 2gCholesterol: 12mgSodium: 54mgCarbohydrates: 23gFiber: 1gSugar: 16gProtein: 2g
Nutrition data shown is an estimate provided by an online calculator and is for informational purposes only. It should not be considered a substitute for a medical professional’s advice.

