Dairy Free Peanut Butter Pie
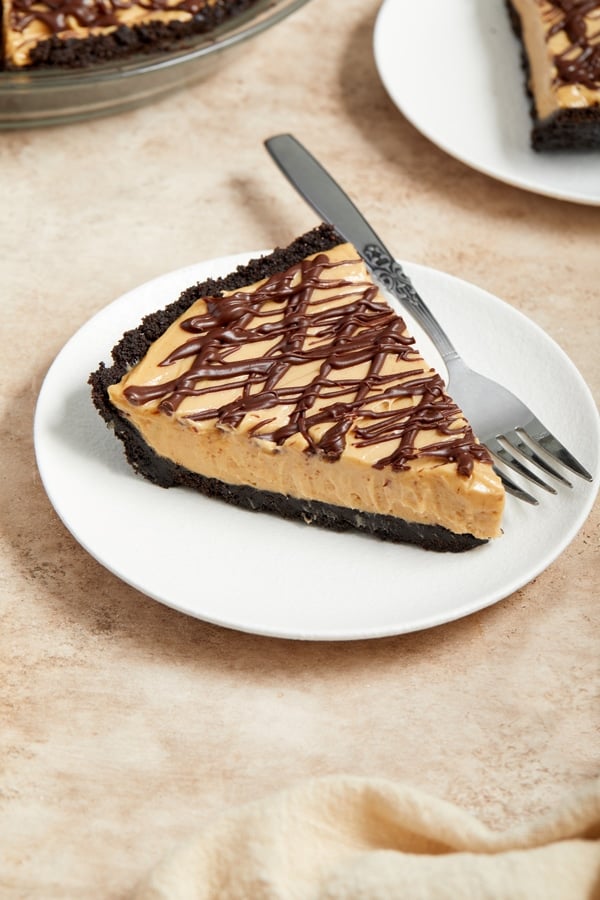
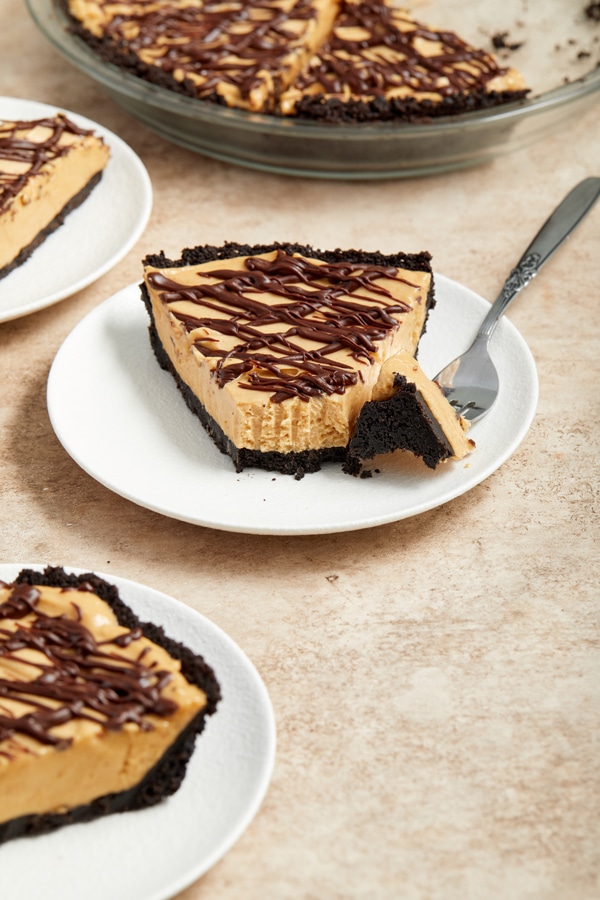
Creamy, silky and perfectly decadent, you won’t be able to keep your hands off this dairy free peanut butter pie! With a chocolate cookie crust, the most luscious peanut butter filling and extra chocolate for topping, it’s an incredible dessert for a special occasion. Egg free and vegan with a gluten free option.
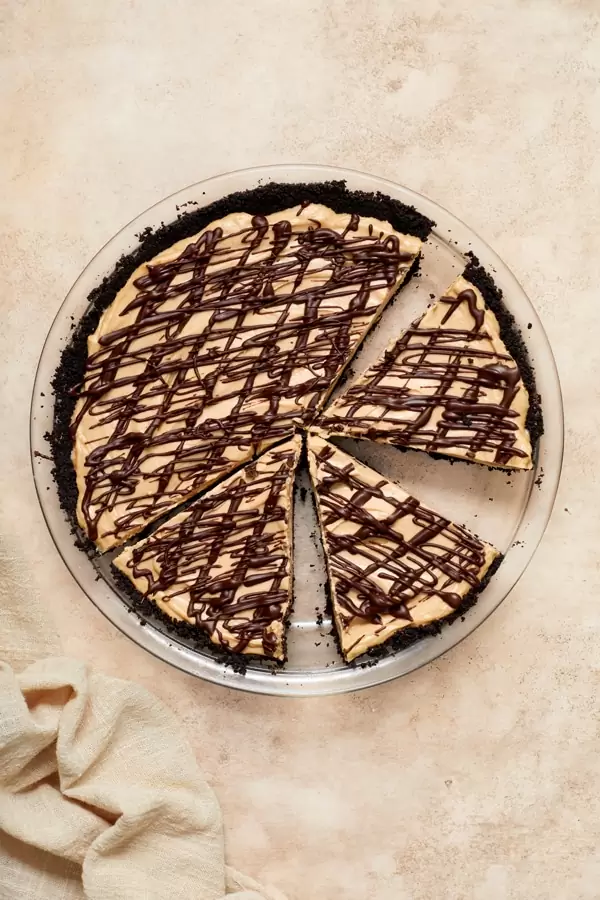
Looking for an out of this world dessert?
This dairy free peanut butter pie is it.
With an oreo cookie crust and a fluffy yet perfectly rich peanut butter filling, it’s hands down the best sweet treat I’ve ever made.
Yes, it’s that darn good.
It’s kinda sorta like a giant peanut butter cup but with a creamier, silkier filling. And THAT is something I can definitely get behind.
Did I mention it’s incredibly easy to make? And there’s no cream cheese or dairy involved?
Yup, you’re going to want to grab yourself some peanut butter and make this ASAP.
Ingredient Notes & Substitutions
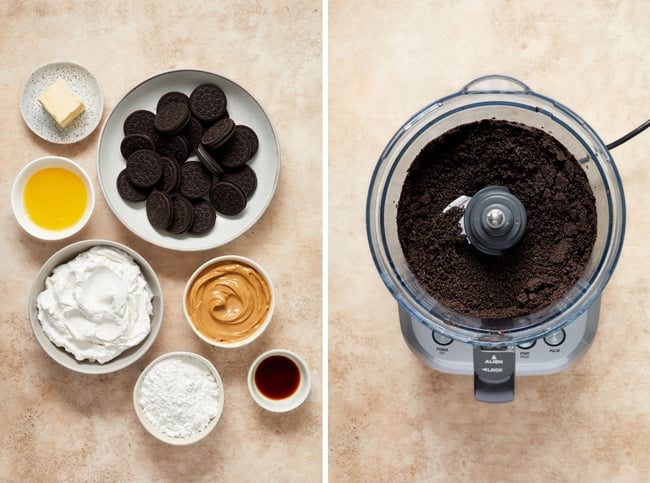
Chocolate Sandwich Cookies // Depending on what brand you are using, you may need slightly more or less cookies to get the 2 ¼ cups of crumbs. I used Oreos in all my testing – both the regular and gluten free versions (I did not test the pie with the double stuff variety).
Peanut Butter // I tried this pie SO many times with natural peanut butter (both regular and no stir). Unfortunately, the results were incredibly inconsistent across brands. For some brands, the filling was way too thick and I found I needed to add some dairy free milk to thin it out … and with others I didn’t need to add any as it was too thin.
For the pie to set up correctly you REALLY need to use conventional peanut butter, which was consistent in testing (with that said, I liked the pie best with Jif and Skippy).
Dairy Free Whipped Topping // The different brands that I tried in testing are listed down in the recipe (all worked great).
With that said, my photographer used Silk’s Dairy Free Heavy Whipping Cream Alternative – she whipped it with a hand mixer until the consistency of whipped cream and then measured out the 1 ½ cups. This also worked really well.
I would imagine homemade whipped coconut cream would also be a good alternative, although we did not try this in testing.
Tips & Tricks
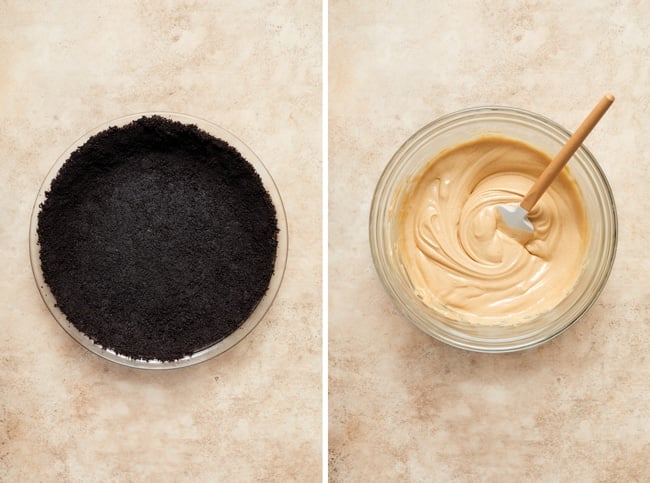
- Let’s talk about the crust. The finer the cookie crumbs, the better it will stick together. For best results, I encourage you to use a food processor to break down the cookies versus trying to do it by hand.
- If you want to jazz things up, you can add some chopped dairy free peanut butter cups for garnish (sprinkle them on right after you drizzle the melted chocolate). Totally takes it over the top.
- And finally, while you can absolutely enjoy the pie after 6 to 8 hours of chill time, I highly suggest allowing it to sit overnight in the fridge. This lets it set up a bit longer, giving the pie what I think is the perfect texture. And it’s also a bit easier to slice cleanly.
How To Store
Fridge: The pie will keep loosely covered in the refrigerator for about 4 days.
Freezer: You can also freeze for up to 3 months. Either wrap really well or slice into pieces and place in an airtight container.
When ready to enjoy, thaw overnight in the fridge.
Additional Dairy Free Desserts You Might Enjoy:
- Dairy Free Chocolate Pie
- Dairy Free Apple Pie
- Dairy Free Pumpkin Pie
- Dairy Free Pecan Pie
- Dairy Free Pumpkin Cheesecake
- Dairy Free Pie Crust
Did you make this recipe? Rate and review it down below! I’d love to hear from you.
Dairy Free Peanut Butter Pie
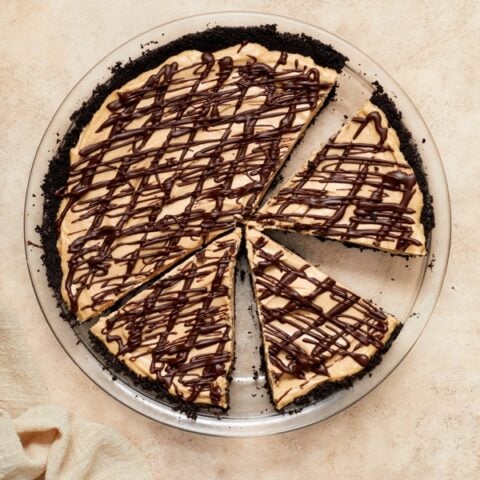
Creamy, silky and perfectly decadent, you won’t be able to keep your hands off this dairy free peanut butter pie! With a chocolate cookie crust, the most luscious peanut butter filling and extra chocolate for topping, it’s an incredible dessert for a special occasion.
Ingredients
For the crust:
- 22 dairy free chocolate sandwich cookies*
- 5 tablespoons dairy free butter, melted
For the filling:
- 1 cup creamy peanut butter**
- 1 cup confectioners’ sugar
- 4 tablespoons dairy free butter, at soft room temperature
- 2 teaspoons vanilla extract
- 1 ½ cups dairy free whipped topping (please see notes!)***
For the topping (optional):
- ¼ cup dairy free chocolate chips
- 1 tablespoon creamy peanut butter
- additional dairy free whipped topping, for serving
Instructions
For the crust:
- Preheat the oven to 350ºF. Lightly grease a 9-inch pie plate with nonstick spray and set aside.
- Add the chocolate cookies (cream and all) to a food processor and process until they are fine crumbs. You should have approximately 2 ¼ cups.
- Pour in the melted butter then pulse until everything is evenly moistened and combined. Dump the crumbs into the pie plate and use your fingers to tightly press the mixture into the pan (in the bottom and up the sides).
- Bake for 8 minutes, then remove to a wire rack to cool completely before proceeding.
For the filling:
- To a large bowl, add the peanut butter, confectioners’ sugar, dairy free butter and vanilla. Using a hand mixer, beat until well combined and smooth, about 30 seconds to 1 minute. Add in the dairy free whipped topping and beat on low until combined.
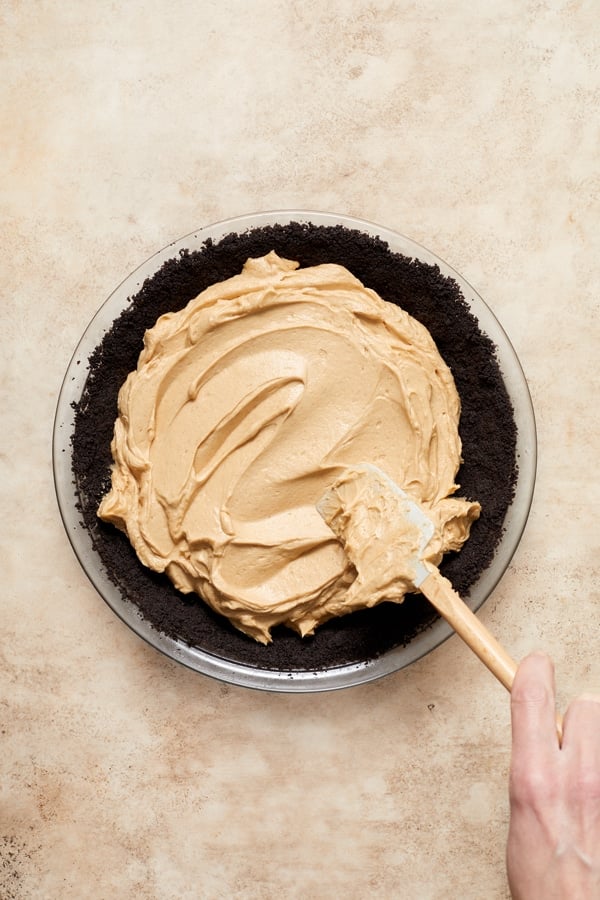
- Transfer the peanut butter mixture into the cooled pie crust and spread evenly with a spatula.
- Chill the pie in the refrigerator for at least 6 to 8 hours, but preferably overnight.
For the topping:
- To a small microwave safe bowl, add the chocolate chips and peanut butter. Microwave in 20 to 30 second intervals, stirring after each, until the chocolate is smooth. If the chocolate is too thick to drizzle nicely, you can stir or melt in a touch of oil to thin it out (about ¼ teaspoon or so).
- Drizzle the chocolate over the chilled pie, then return to the fridge until set.
- Slice and serve cold, with an extra dollop of whipped topping, if desired.
Notes
*To keep gluten free - use gluten free oreo cookies.
**Please do NOT use natural peanut butter in this recipe, even the no-stir kind. You really need to use something conventional. Natural peanut butter does not behave in the same way and was very inconsistent across brands in testing (see the post above for more info).
***I tested this pie with several different dairy free whipped topping options - So Delicious Original Cocowhip, Reddi Whip Non Dairy Coconut Milk Whipped Topping, Reddi Whip Non Dairy Almond Milk Whipped Topping and Sweet Rose Coconut Whipped Topping. All worked great. A few tips:
For the So Delicious topping (or any toppings that come in a tub in the freezer section), please make sure that you thaw first in the fridge before using in the recipe. For any toppings that come in a can, spray the topping into a small bowl and then measure out what you need.
I imagine other brands with similar products will work just fine. Additionally, if you are using something in a can, buy two. I sometimes didn’t get enough from one can and you don’t want to run out!
To keep vegan - be sure to use vegan sandwich cookies and a brand of confectioners’ sugar that is vegan friendly.
Nutrition Information:
Yield: 10 Serving Size: 1Amount Per Serving: Calories: 459Total Fat: 32gSaturated Fat: 13gTrans Fat: 0gUnsaturated Fat: 13gCholesterol: 34mgSodium: 313mgCarbohydrates: 40gFiber: 3gSugar: 26gProtein: 7g
Nutrition data shown is an estimate provided by an online calculator and is for informational purposes only. It should not be considered a substitute for a medical professional’s advice.


Would a springform pan work for this??
Hi Susan! I haven’t tried it myself but I think that should work just fine.
Just made this and it’s in the fridge now. Tasted it from the mixing bowl and it’s yummy. I managed to get two pies out of one recipe. I have my great grandmas pie tins which are over 100 years old. They are very shallow compared to today’s pie tins.
Love this! Thanks for letting me know Jami 🙂
Hi, what happens if the crust doesn’t bake? I baked mine for more than 8 minutes and it is so soupy and not holding its shape. Please help!
Hey Kayla! Ooo that sounds like there was too much butter / not enough cookie crumbs – the crust shouldn’t be soupy even when pressing into the pan! (If you look at the process photos in the post you can see the texture it should be) I would add more cookies. Depending on what brand you are using, you may need slightly more or less cookies to get the 2 ¼ cups of crumbs. I used Oreos in all my testing – both the regular and gluten free versions (I did not test the pie with the double stuff variety). Also, the finer the cookie crumbs, the better it will stick together. For best results, I encourage you to use a food processor to break down the cookies versus trying to do it by hand.
Thank you for this perfectly simple and delicious dessert!
So so happy to hear you enjoyed!
I have made this several times now and each time it has turned out delicious! It’s a crowd pleaser that really doesn’t take much effort. I use country crock plant based heavy whipping cream to make whipped cream and country crock dairy free butter. Easy to swap out normal oreos for GF ones, or get a pre-made crust if you’re feeling extra lazy.
So happy to hear this! Thank you so much for taking the time to let me know 🙂
Can I pre make it and leave it in the fridge for 2 days?
Hey Eva! Yes absolutely – it will keep loosely covered in the refrigerator for about 4 days. Hope you enjoy 🙂
My grandson can’t have eggs or dairy products and I haven’t made this recipe yet but it looks good and I am hoping to make it next weekend for him!
Hope you all enjoy!
I made this for my husband for Thanksgiving and he absolutely loved it, super easy recipe too!
So happy to hear this Tiffanie! Thank you for taking the time to let me know – it’s much appreciated 🙂
I made this for Thanksgiving, and it came out really well! Absolutely delicious – everyone loved it. My peanut butter mixture was a little dry, so I added a bit more butter, but otherwise followed the directions exactly.
I’m so happy to hear it! Thank you for taking the time to let me know!
Made this today for the family thanksgiving get-together and everyone LOVED it. I used GF Oreos and NO ONE knew it was vegan and GF. Win-win! I did add a bit more whip cream, maybe 2 cups total and the PB mixture was a little thick. Pro tip if you don’t have a food processor: Remove all the filling from the oreos and set aside. Add all the chocolate cookies to a gallon bag and roll with a rolling pin until powdery. Then melt the frosting with the butter and add back in. Worked super well!
I love this! So glad you all enjoyed it 🙂 And that’s great to know – I’ve never tried doing the cookies and the filling separate like that!