Dairy Free Chocolate Pie
This dreamy dairy free chocolate pie is a chocolate lover’s dream! With a smooth-as-silk filling and fluffy whipped coconut cream, it’s impossible to resist. Perfectly decadent and easy to make, you’ll never believe there’s no dairy involved. Egg free, soy free and vegan.
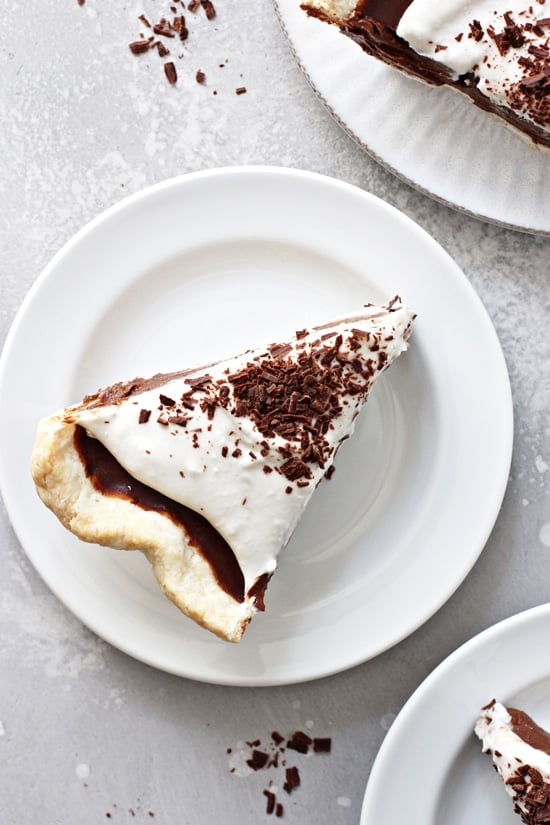
Calling all chocolate lovers!
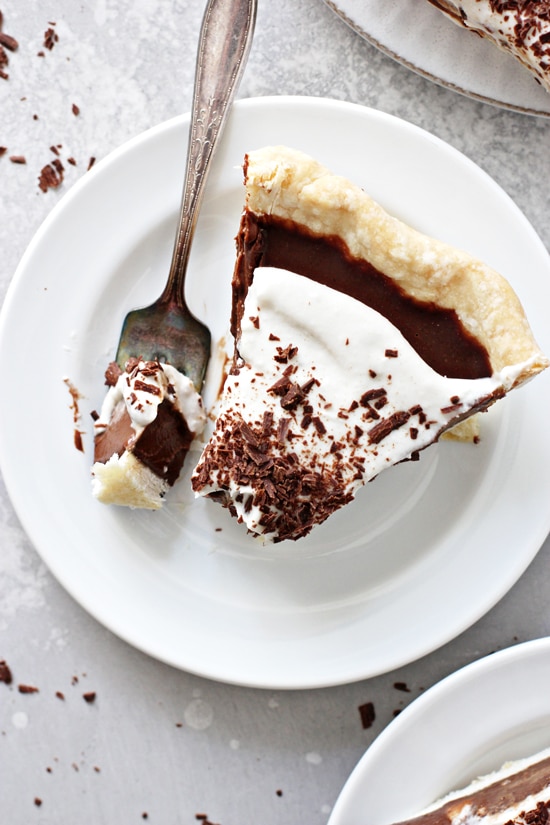
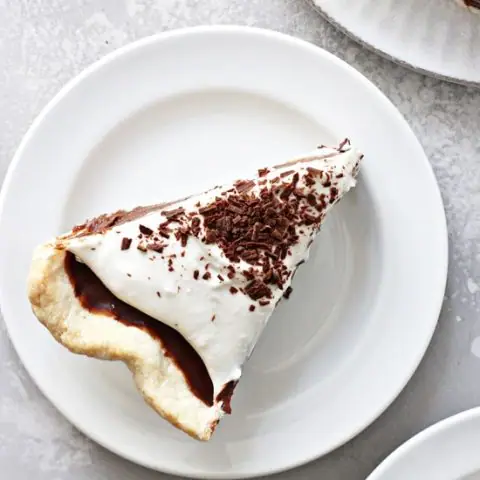
Because today we chat this perfectly indulgent dairy free chocolate pie.
That has the most smooth and creamy, melt-in-your mouth filling that is just pure heaven.
And when we combine that with a flaky pie crust, fluffy whipped coconut cream and even more chocolate for garnish?
It’s dessert-time bliss. And most definitely the BEST pie I’ve ever made.
Did I mention that it’s also super easy to make (especially if your pie crust is ready to go)? Packed with deep chocolate flavor? No fancy ingredients needed?
Yup, now that’s my kind of chocolate pie.
How To Make Dairy Free Chocolate Pie
So, let’s talk about how this delicious dessert goes down.
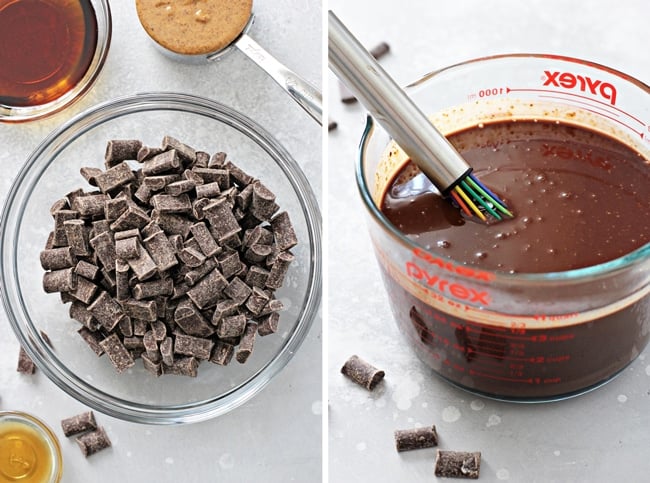
Melt chocolate. First up, we’ll add some chocolate chips, coconut milk and almond butter to a small saucepan, then heat until smooth and well combined.
Add in flavorings. Next, we’ll whisk in some maple syrup and vanilla extract to sweeten it all up.
Pour into crust then chill. We’ll pour the mixture into a fully baked pie crust, then pop in the fridge to hang out for about 4 to 6 hours, or until set.
Make the topping. When the pie is ready, we’ll add some hardened coconut cream to a mixing bowl and whip until fluffy, then add in some sugar and vanilla to pump up the flavor.
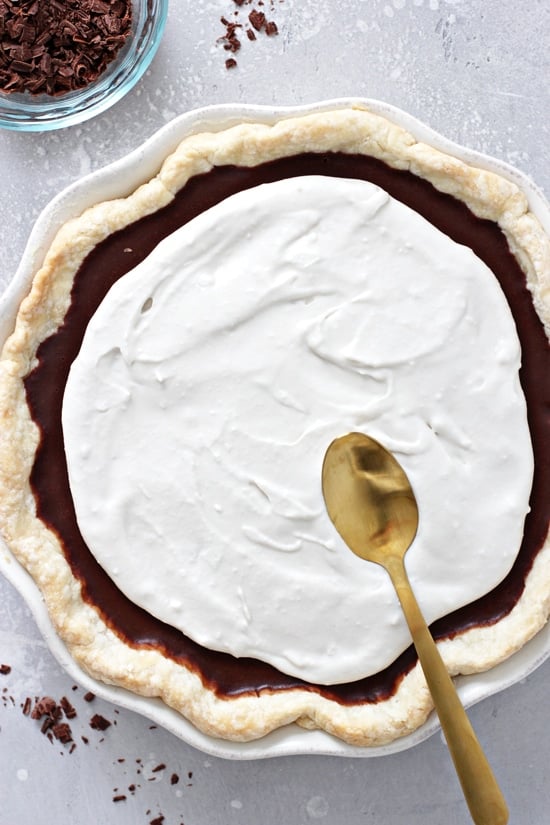
Spread over pie. Finally, we’ll spread that fluffy goodness over our chilled pie, before sprinkling with chocolate shavings (or chips!) for garnish.
And then, we dive on in.
Tips & Tricks
- First things first. The cook time for the recipe does NOT include time to make and bake off the pie crust, as you want it to be fully cooled before proceeding with the filling. Additionally, how long it will take will vary if you don’t use the linked pie crust recipe.
- I personally use almond butter that only has one ingredient – almonds! And is more drippy in consistency. But you can absolutely use any almond butter you like. Keep in mind that you DO NOT taste the almond butter at all in the final product. It’s just there to give the filling that perfect texture.
- Alternatively, you can use peanut butter or cashew butter instead. Cashew butter will be neutral in flavor like the almond butter, whereas you’ll taste the peanut butter a bit (which is not necessarily a bad thing!).
- Let’s talk about the whipped topping. Different brands of coconut milk (and even different cans from the same brand) will result in a slightly different consistency once whipped. After you whip the hardened coconut cream, assess the texture. If it’s already pretty soft, I recommend using the confectioners’ sugar to sweeten. If it’s too thick, use the maple syrup which will thin it out a bit.
- Or, you can absolutely use a store bought dairy free whipped cream instead. We love the So Delicious original cocowhip and it makes a great substitute if you don’t want to be bothered making your own.
How To Store
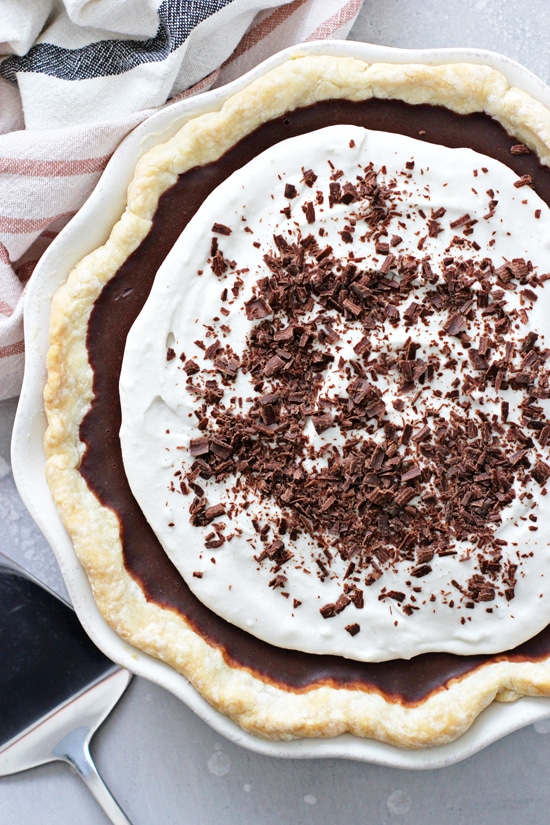
Fridge: Any leftovers (or even the entire pie) can be stored in the fridge for up to 5 days. I like to loosely cover with foil.
Freezer: Alternatively you can freeze the pie without the whipped topping for another time. Let it set as directed in the recipe, then wrap tightly and store in the freezer for up to 3 months.
Allow it to thaw in the fridge, then proceed with the whipped topping.
Additional Dairy Free Desserts You Might Enjoy:
- Dairy Free Peanut Butter Pie
- Dairy Free Apple Pie
- Dairy Free Carrot Cake
- Vegan Gingerbread Cake
- Dairy Free Pecan Pie
- Dairy Free Pumpkin Cheesecake
- Dairy Free Pumpkin Pie
Did you make this recipe? Rate and review it down below! I’d love to hear from you.
Dairy Free Chocolate Pie
This dreamy dairy free chocolate pie is a chocolate lover’s dream! With a smooth-as-silk filling and fluffy whipped coconut cream, it’s impossible to resist. Perfectly decadent and easy to make, it's also egg free, soy free and vegan.
Ingredients
For the pie:
- 1 batch dairy free pie crust*
- 10 ounces dairy free chocolate chips (semisweet or dark)**
- 1 (13.5 ounce) can full-fat coconut milk
- ½ cup natural almond butter
- 1 teaspoon vanilla extract
- ¼ cup pure maple syrup
For the topping:
- 1 (13.5 ounce) can full-fat coconut milk, refrigerated for at LEAST 24 hours***
- 2 tablespoons confectioners’ sugar, or to taste****
- ½ teaspoon vanilla extract
- dairy free chocolate shavings or chocolate chips, for garnish
Instructions
For the pie:
- Make the pie crust, then bake off fully according to the recipe instructions and allow to cool completely before proceeding.
- Add the chocolate chips, coconut milk and almond butter to a small to medium saucepan. Set the pan over medium-low heat and cook, whisking frequently, until combined and smooth. Remove from the heat and stir in the vanilla and maple syrup.
- Pour the mixture into the cooled pie crust, then transfer to the refrigerator and chill for about 4 to 6 hours, or until set (I usually just leave it to chill overnight).
For the topping:
- Open the can of coconut milk and scoop the hardened coconut cream into a large mixing bowl (leaving behind the liquid – you can save this if desired for things like smoothies). Using a hand mixer, whip the cream until fluffy.
- Add in the confectioners’ sugar and vanilla extract, then whip again until incorporated.
- Spread the topping over the chilled pie (leaving a border so the chocolate filling remains visible), then garnish with the chocolate shavings or chips.
- You can serve immediately OR transfer the pie back to the refrigerator and let chill for another few hours to give the coconut whipped cream time to set / firm up a bit (I find it slices a touch cleaner this way).
- Slice with a sharp knife (wiping it off after each slice).
Notes
*You can absolutely use a different recipe or a store-bought crust. Just make sure it is fully baked and cooled before proceeding with the filling.
With that said, the pie plate that I use for this recipe measures 10 inches across and is just over 2 inches high at the tallest point. I’d suggest using something similar in size for best fit (otherwise you might have a bit too much chocolate filling - you can discard any excess if your crust is smaller - just fill the pie with as much as you can).
**To keep this soy free - be sure to use appropriate chocolate chips. We like the Enjoy Life brand as they’re free of most major allergens.
***I recommend placing two cans of coconut milk in the fridge. Unfortunately every so often you’ll get a dud can of coconut milk where the cream just won’t harden / separate from the liquid. This way you have a backup and won’t be left in a bind.
****You can use pure maple syrup instead of the confectioners’ sugar - just keep in mind the whipped cream will have a slightly more runny consistency. But it’s still delicious. See the tips & tricks section in the post above for more info on this.
Nutrition Information:
Yield: 10 Serving Size: 1Amount Per Serving: Calories: 496Total Fat: 36gSaturated Fat: 23gTrans Fat: 0gUnsaturated Fat: 10gCholesterol: 0mgSodium: 117mgCarbohydrates: 43gFiber: 3gSugar: 22gProtein: 7g
Nutrition data shown is an estimate provided by an online calculator and is for informational purposes only. It should not be considered a substitute for a medical professional’s advice.


I love this recipe! I use it every year, and my family loves it even more every year!
This made my day! Thank you for letting me know Catherine 🙂
I have made this 8 times since I first saw it and it is a big hit in my house! I either use cashew or a vanilla almond butter or both! It is heavenly to say the least!
This made my day! Thank you for letting me know Audrey 🙂
Absolutely amazing. I made this for my family that is not dairy free, gluten free or refined sugar free. They were apparently VERY skeptical that my food at Thanksgiving would be gross. They loved this pie soo much I had to make two more the next day to drop off at their houses ❤️
Oh my gosh I love this! I truly appreciate you taking the time to let me know Jennie!
Absolutely love this recipe! Substituted the almond butter for margarine (since we didn’t have almond butter at home) and added some extra sugar to the topping! 10/10 recommend. Super creamy and decadent. Amazing.
I’m so happy to hear it Maryann! And that’s great to know about the margarine – thank you for sharing 🙂
What if you can’t use any nut butter because of nut and peanut allergies? What could I substitute?
Hey Patt! Sunbutter could absolutely be used in place of the almond butter. It will have a slightly different taste (as it’s not quite as neutral in flavor) but is still delicious.
Wow, perfect texture and no thickeners! This is a keeper! I made a GF chocolate graham cracker crust, and topped it with cherry pie filling, and So Delicious frozen coconut whip.
So so happy to hear this Crystal! Thank you for taking the time to let me know 🙂 And I love the sound of those changes!
I made this for the first time, and it turned out SO WELL! I haven’t had chocolate pie since I developed a dairy allergy almost 4 years ago, and this. Was. So. Good!I love every recipe I’ve tried from this site – the instructions are so clear – and this is no exception. It is rich and just sweet enough with the whipped coconut milk topping. I don’t have an electric mixer, but whisking the topping worked out just find. Definitely recommended refrigerating after adding whipped topping to help it set up and make it easier to slice.I made it for some friends who came over for dinner, and just enjoyed one of the 2 leftover slices for breakfast. ♀️ Delicious!
This completely made my day! Thank you so much for letting me know Hannah!! 🙂
It was runny. I covered it with Saran – maybe that was the issue? Looking for suggestions.
Hmmm I haven’t had that happen to anyone. It possibly could have been the saran wrap – I’ve never covered the pie until it’s fully set and firm. Did you use full-fat canned coconut milk? That’s important for getting it to set along with the correct amount of chocolate chips … those would be the likely culprits!
I made this for Thanksgiving it was amazing! Such a great recipe!! So easy simple and yummy. Going to make it again for Christmas with a gluten free crust!
So happy to hear this Sarah! Thanks so much for letting me know 🙂
I’m also allergic to tree nuts, do you think that sunflower butter will work?
Hey Amber! Yep, that will work just fine. Enjoy!
This pie looks deeeeelish! I need to try your pie crust recipe soon.
Thanks Nicole!!
This looks so pretty and decadent! I am always excited to see more dairy free adaptations so that everyone can participate in sweet tooth celebrations no matter what their dietary restrictions are. And you can never go wrong with chocolate!
Agreed!
This looks incredibly rich, delicious yet so GOOD for you! I have no problem with dairy, but I seriously love coconut cream more 🙂
Thanks Angie!